Beta The Action Planner is free while in beta — for a limited time.
Free · Zero construction knowledge needed

Sierra Action Planner & Projection

The 30-Second Project Blueprint & Living Timeline for Your Custom Log Home Journey.

You arrived at our site with nothing but an idea. Few minutes later, you are walking away with a scaled design of your future home in one hand, and a complete, interactive 10-phase project roadmap in the other.

It cost you absolutely nothing, and it requires zero prior construction knowledge.

10guided
phases
56tracked
milestones
PDFproject-ready
report
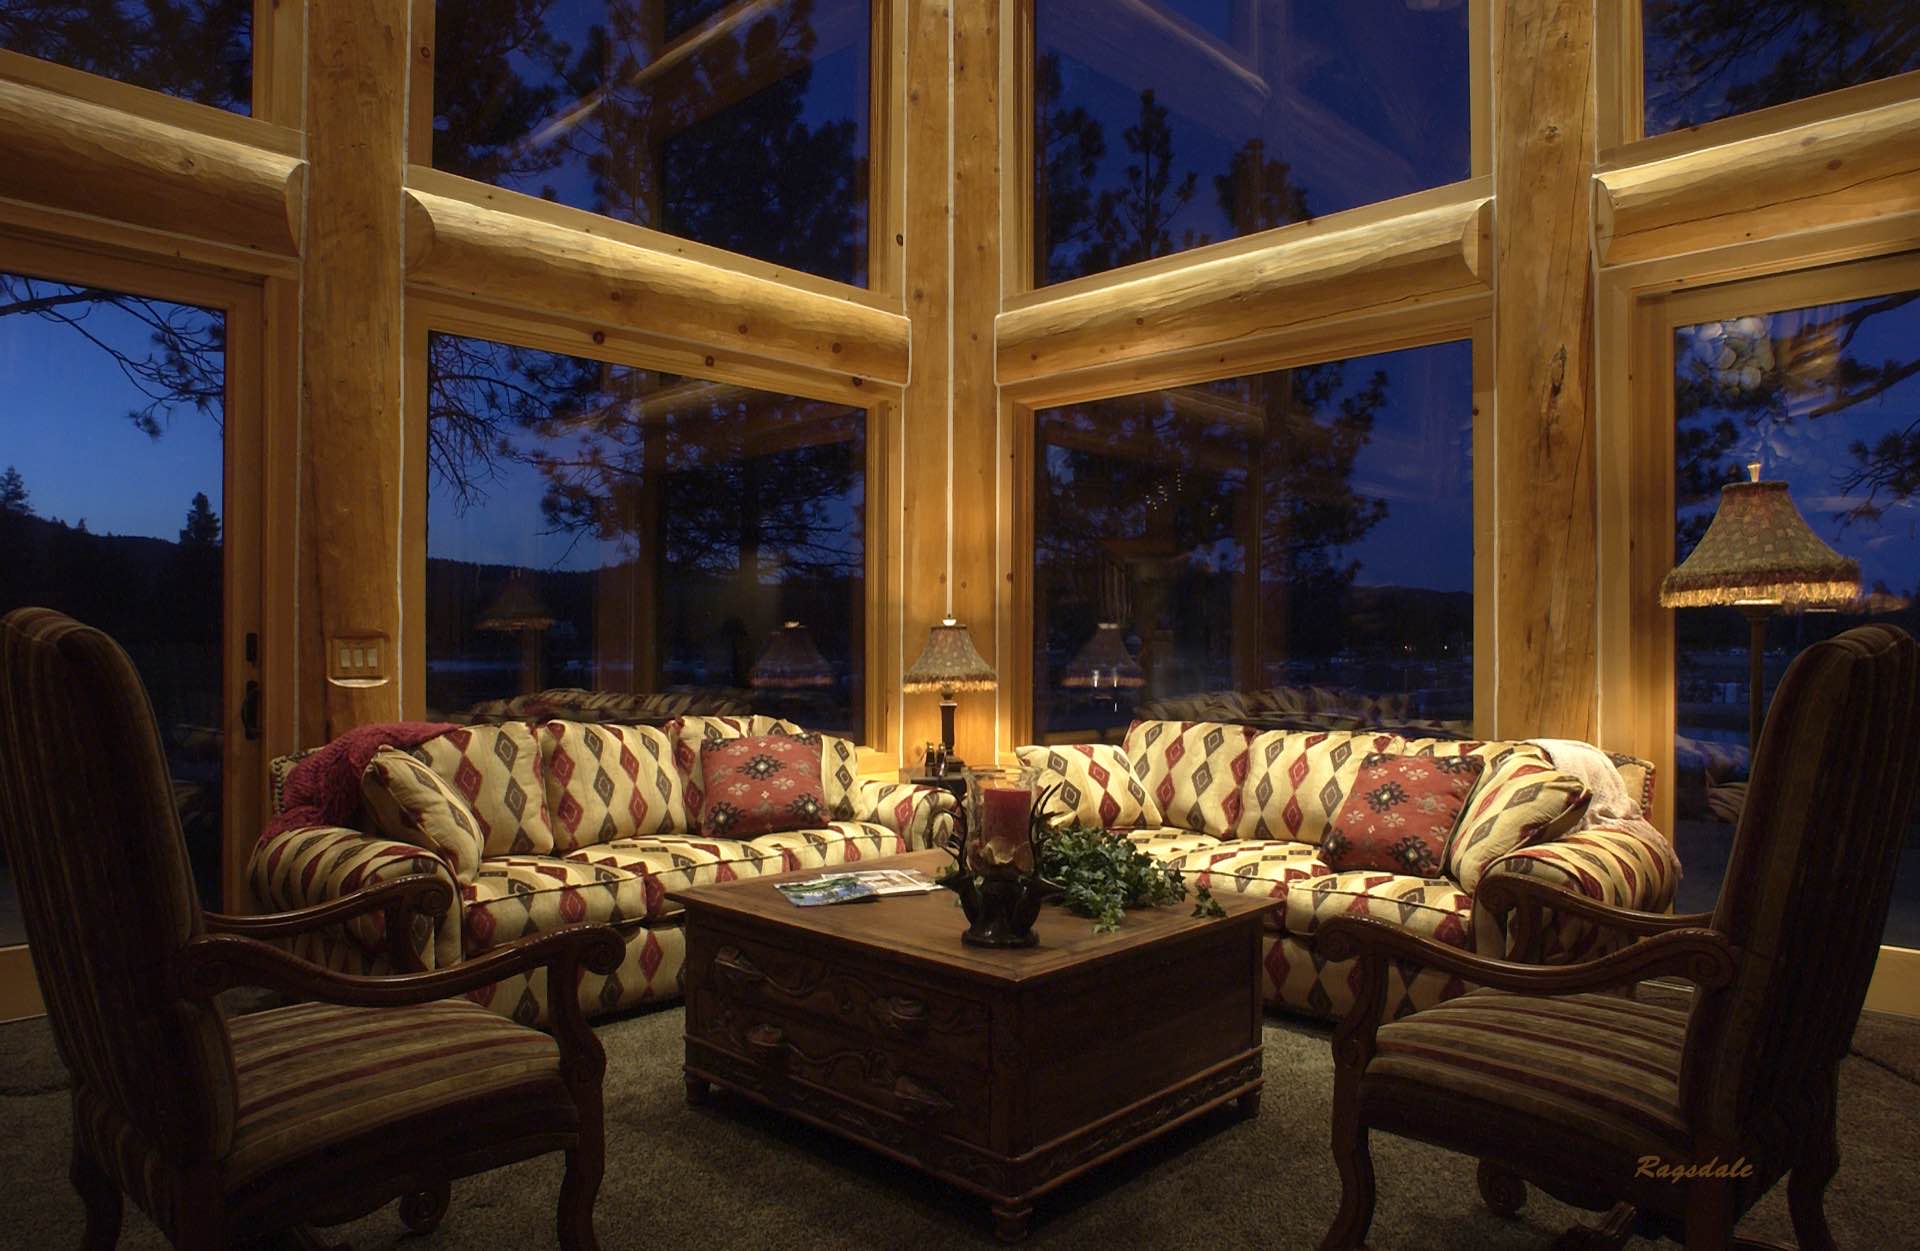
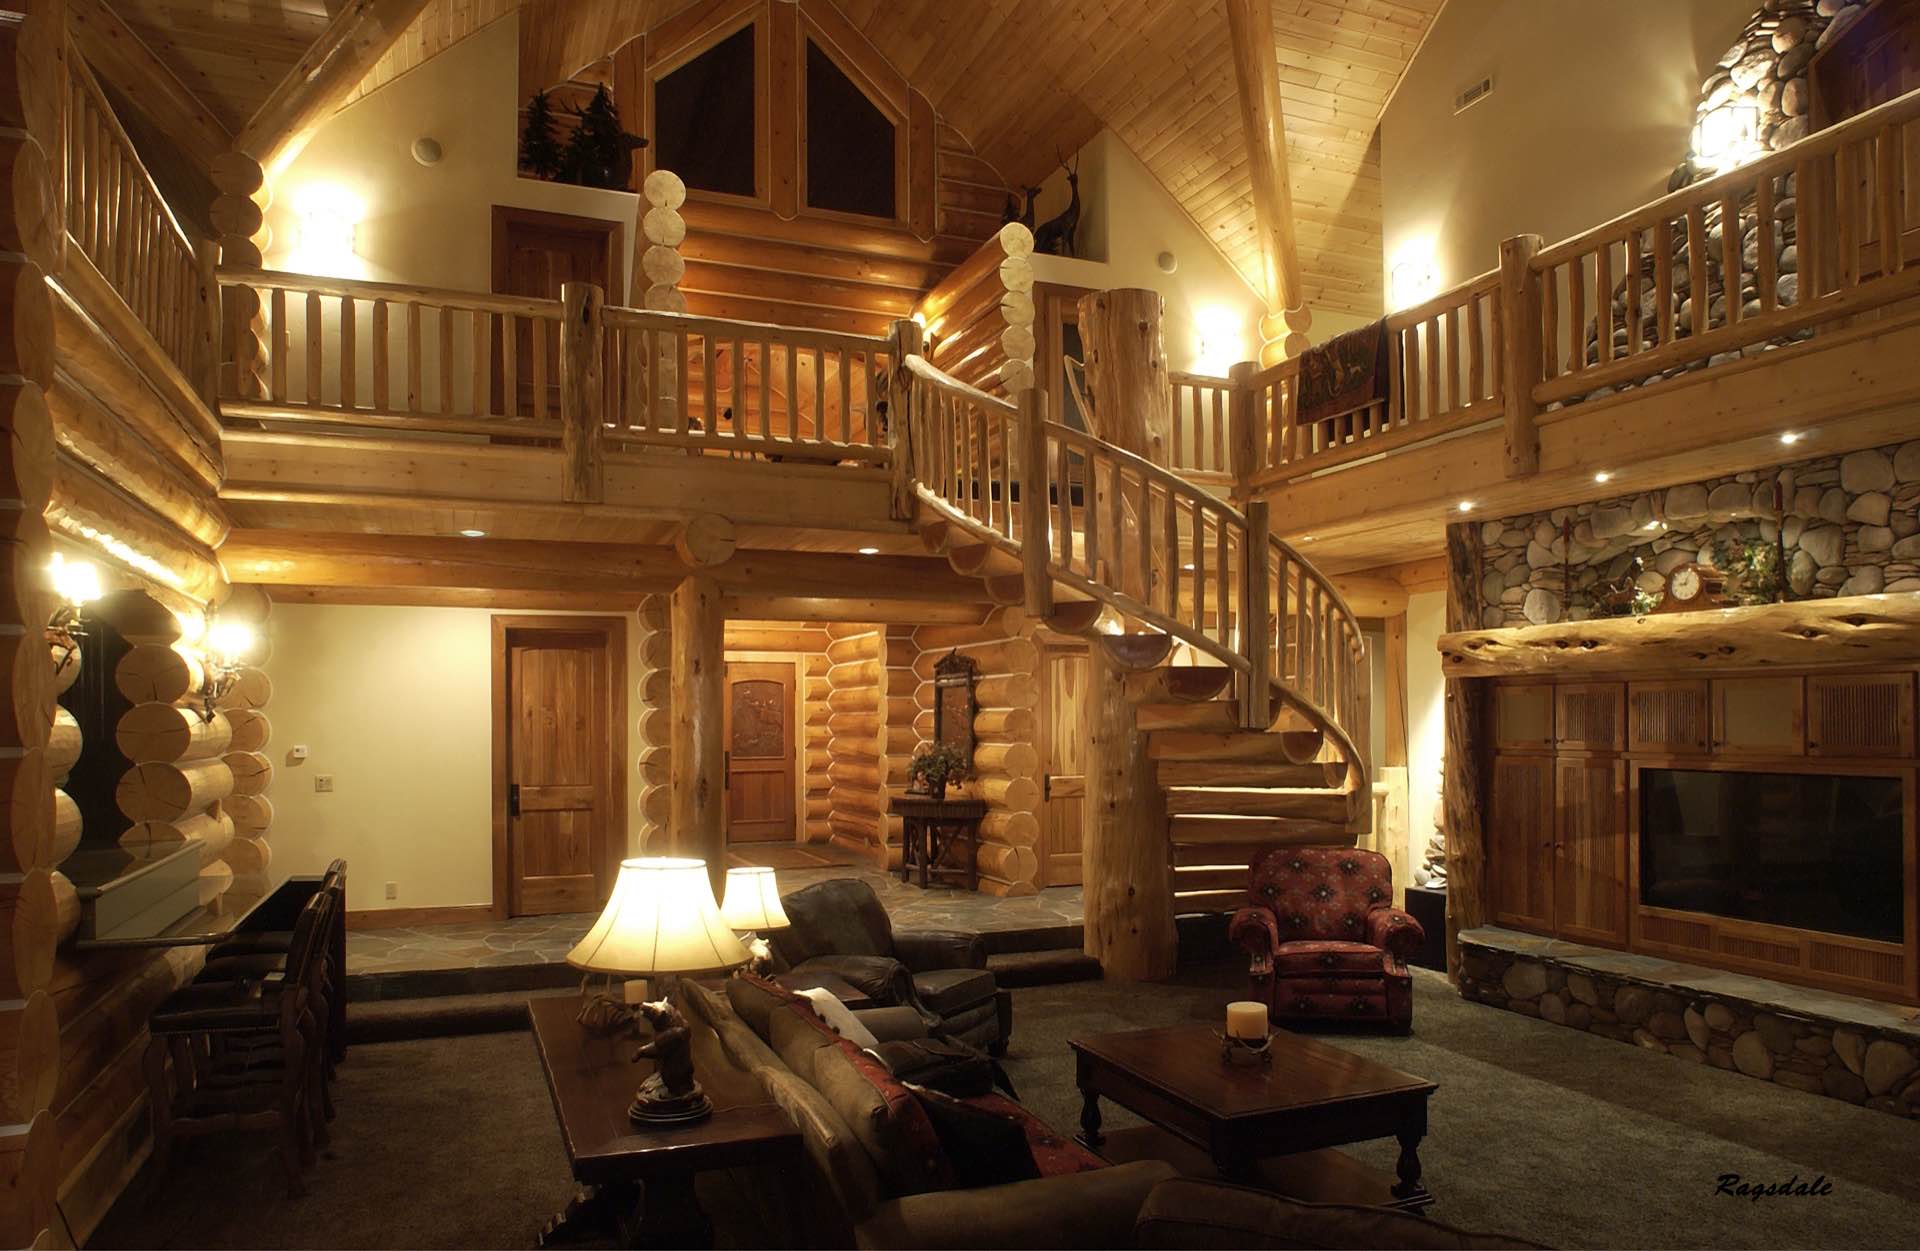
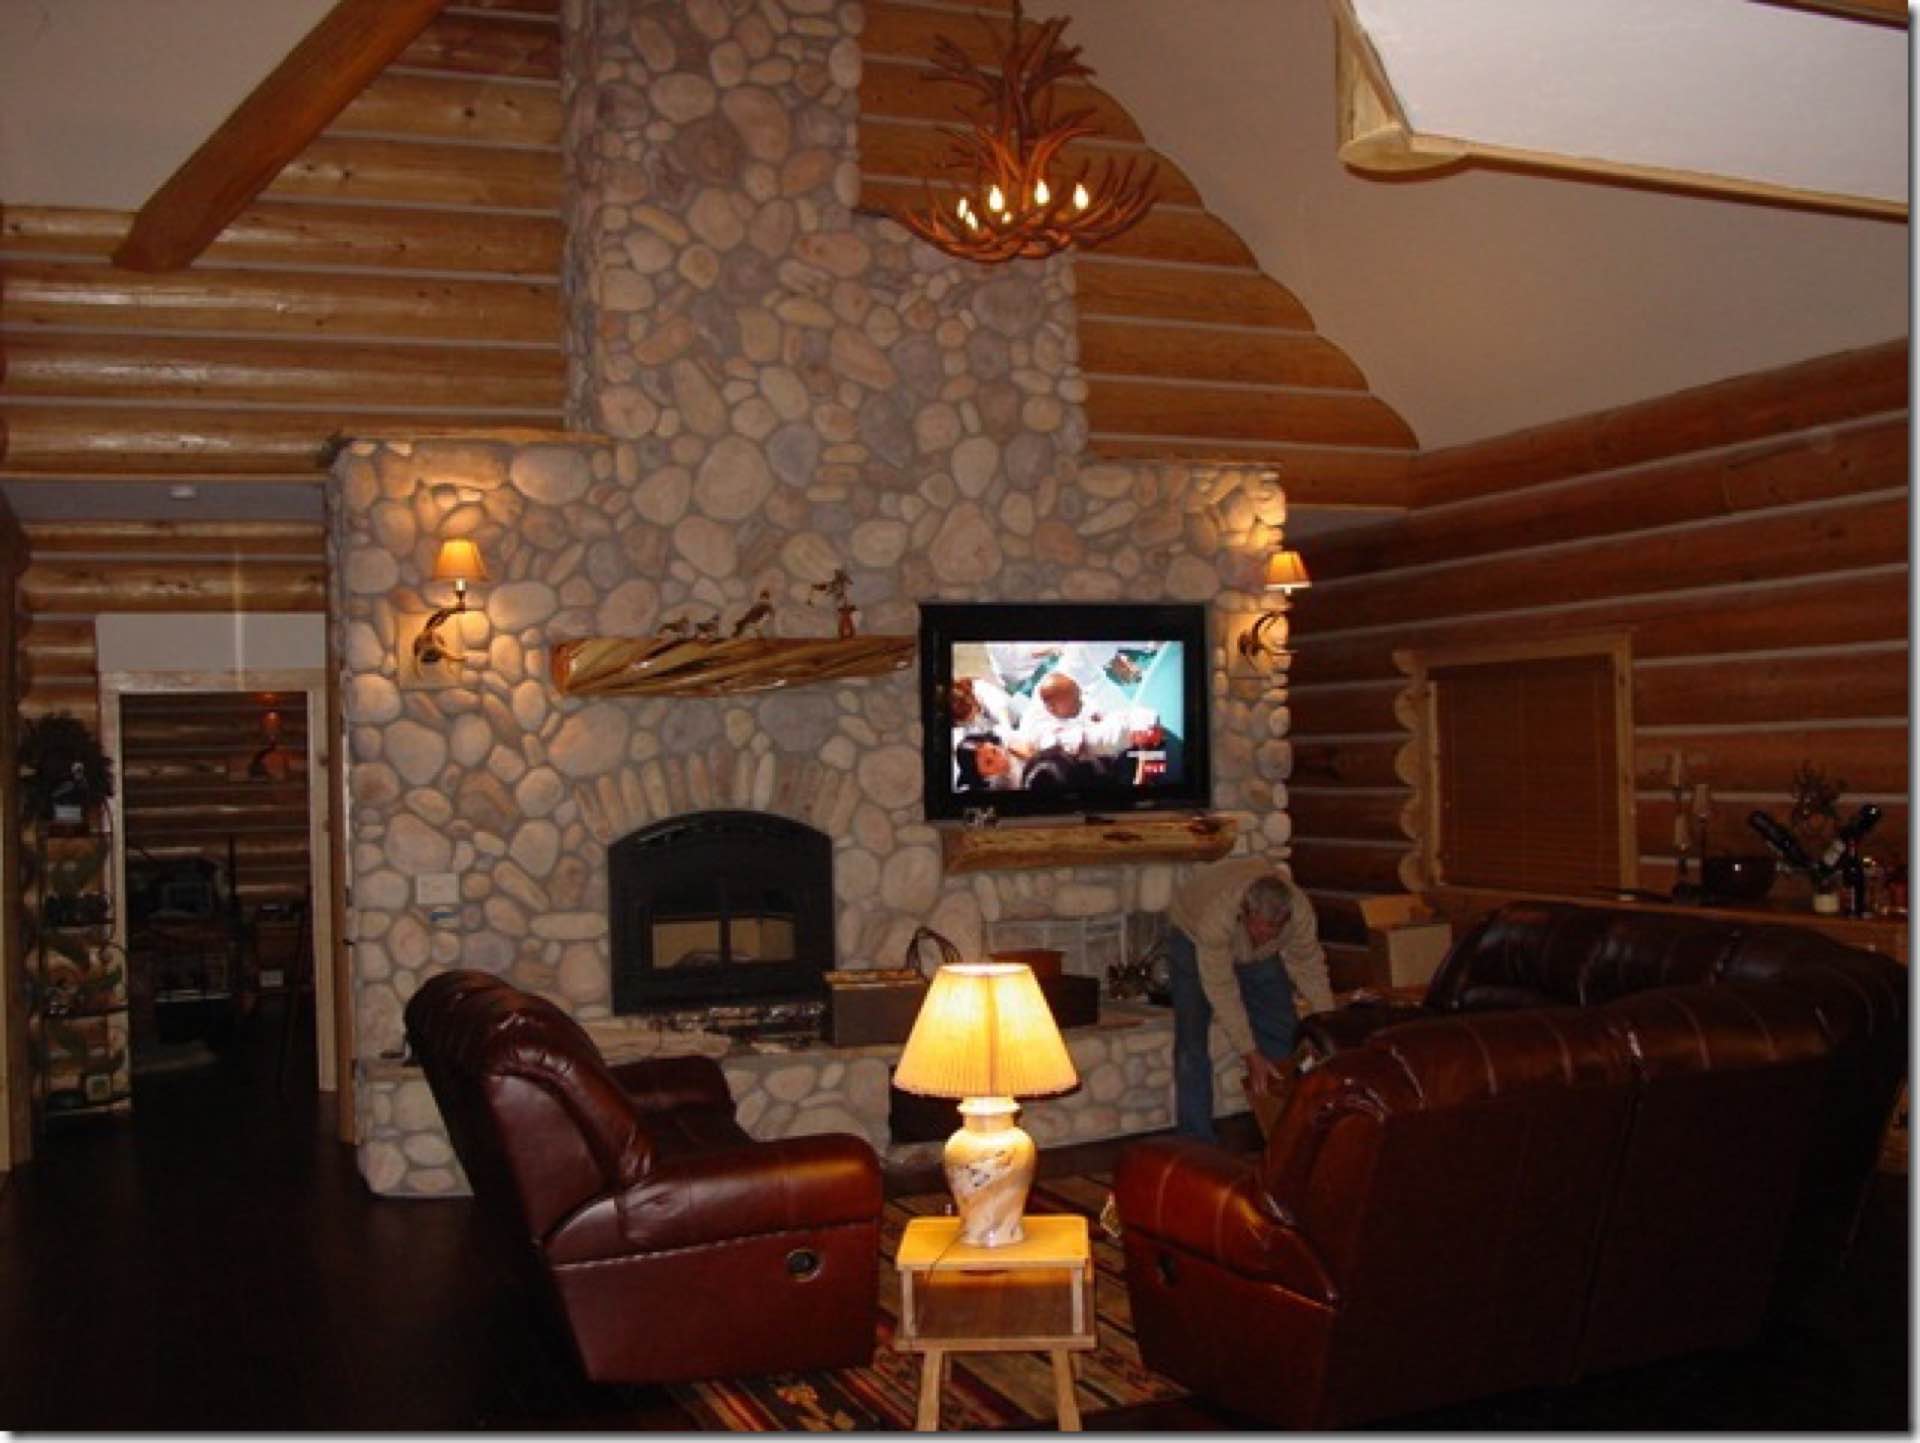
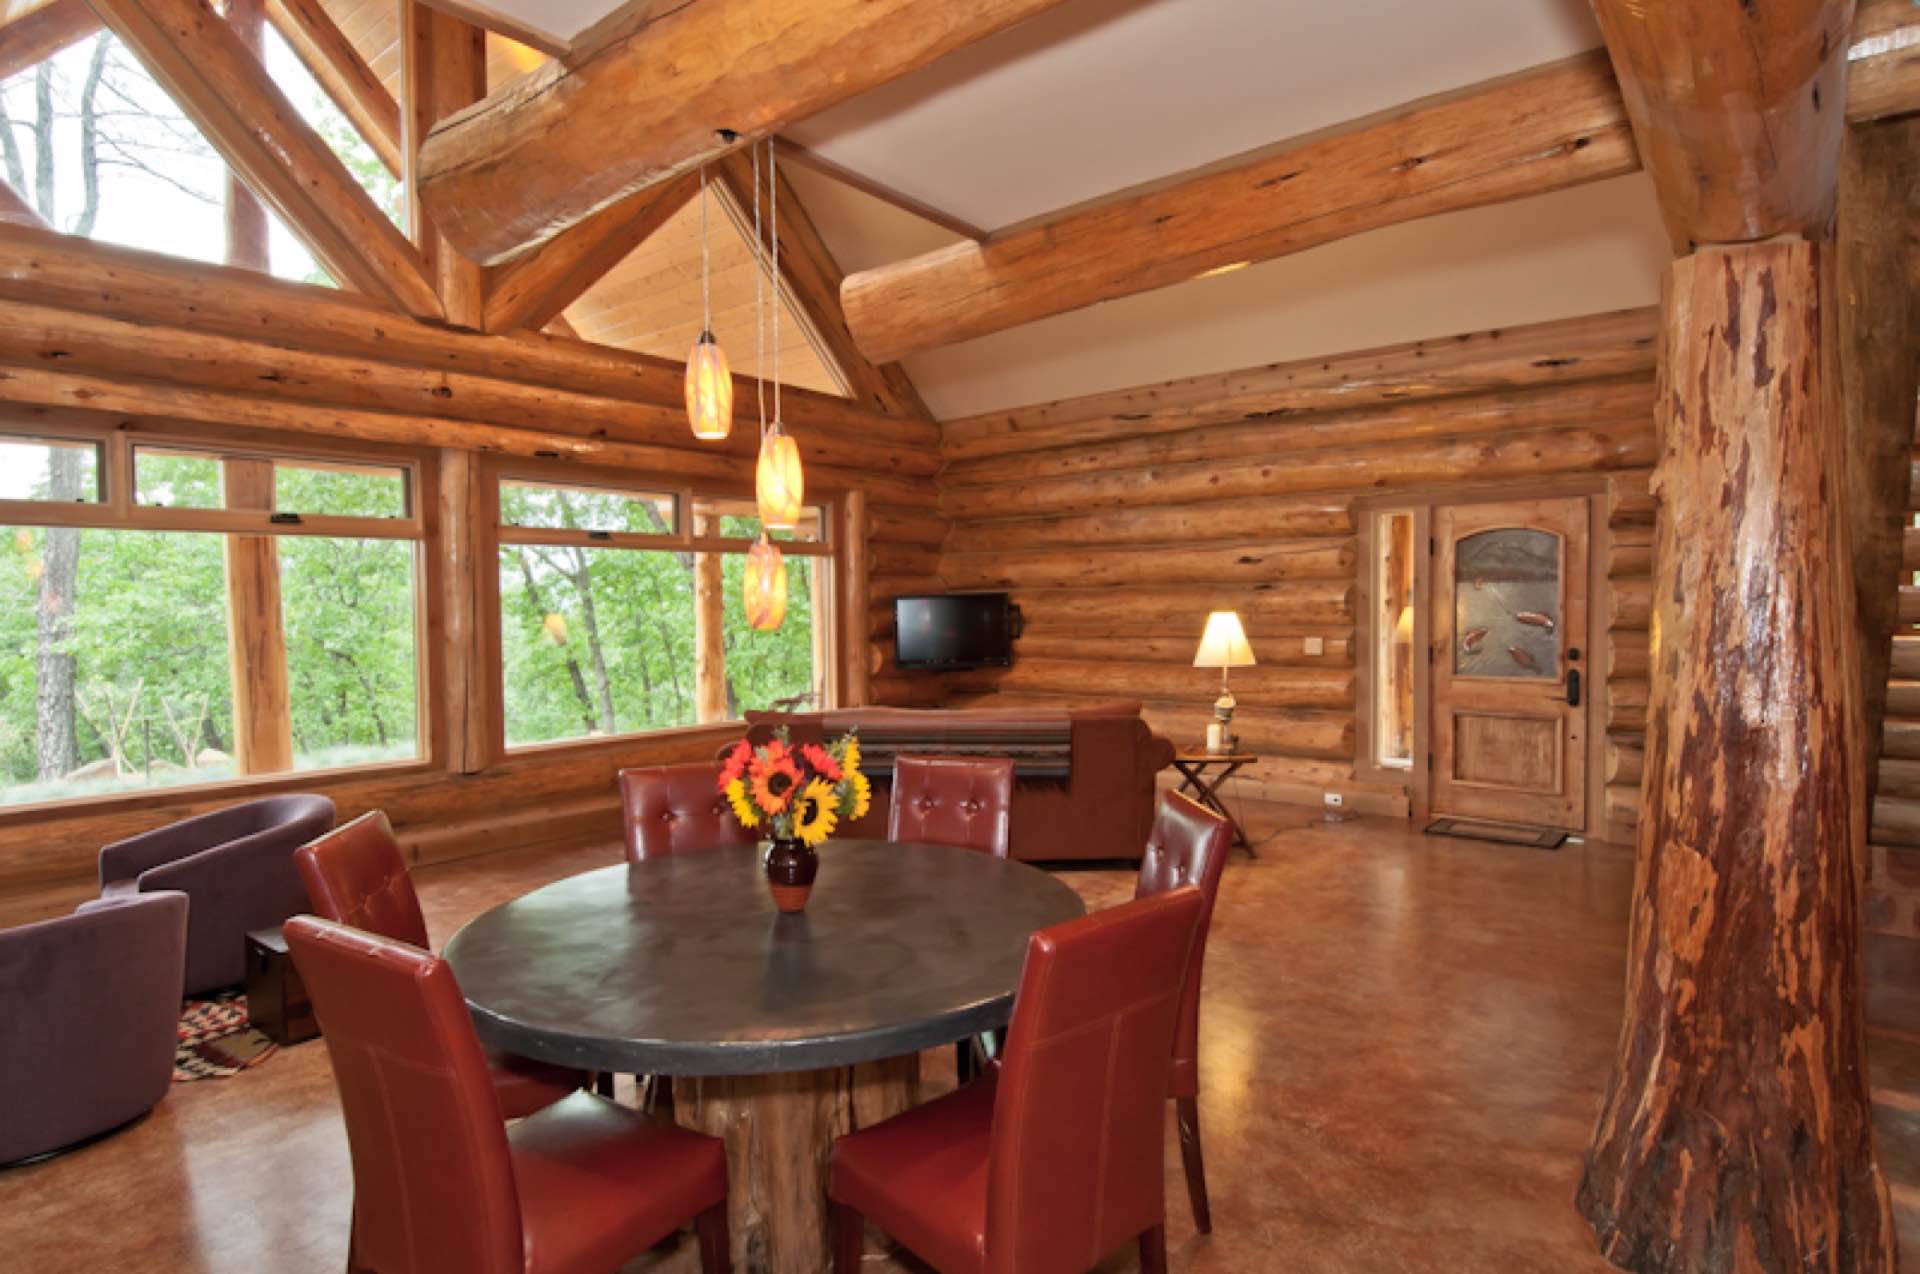
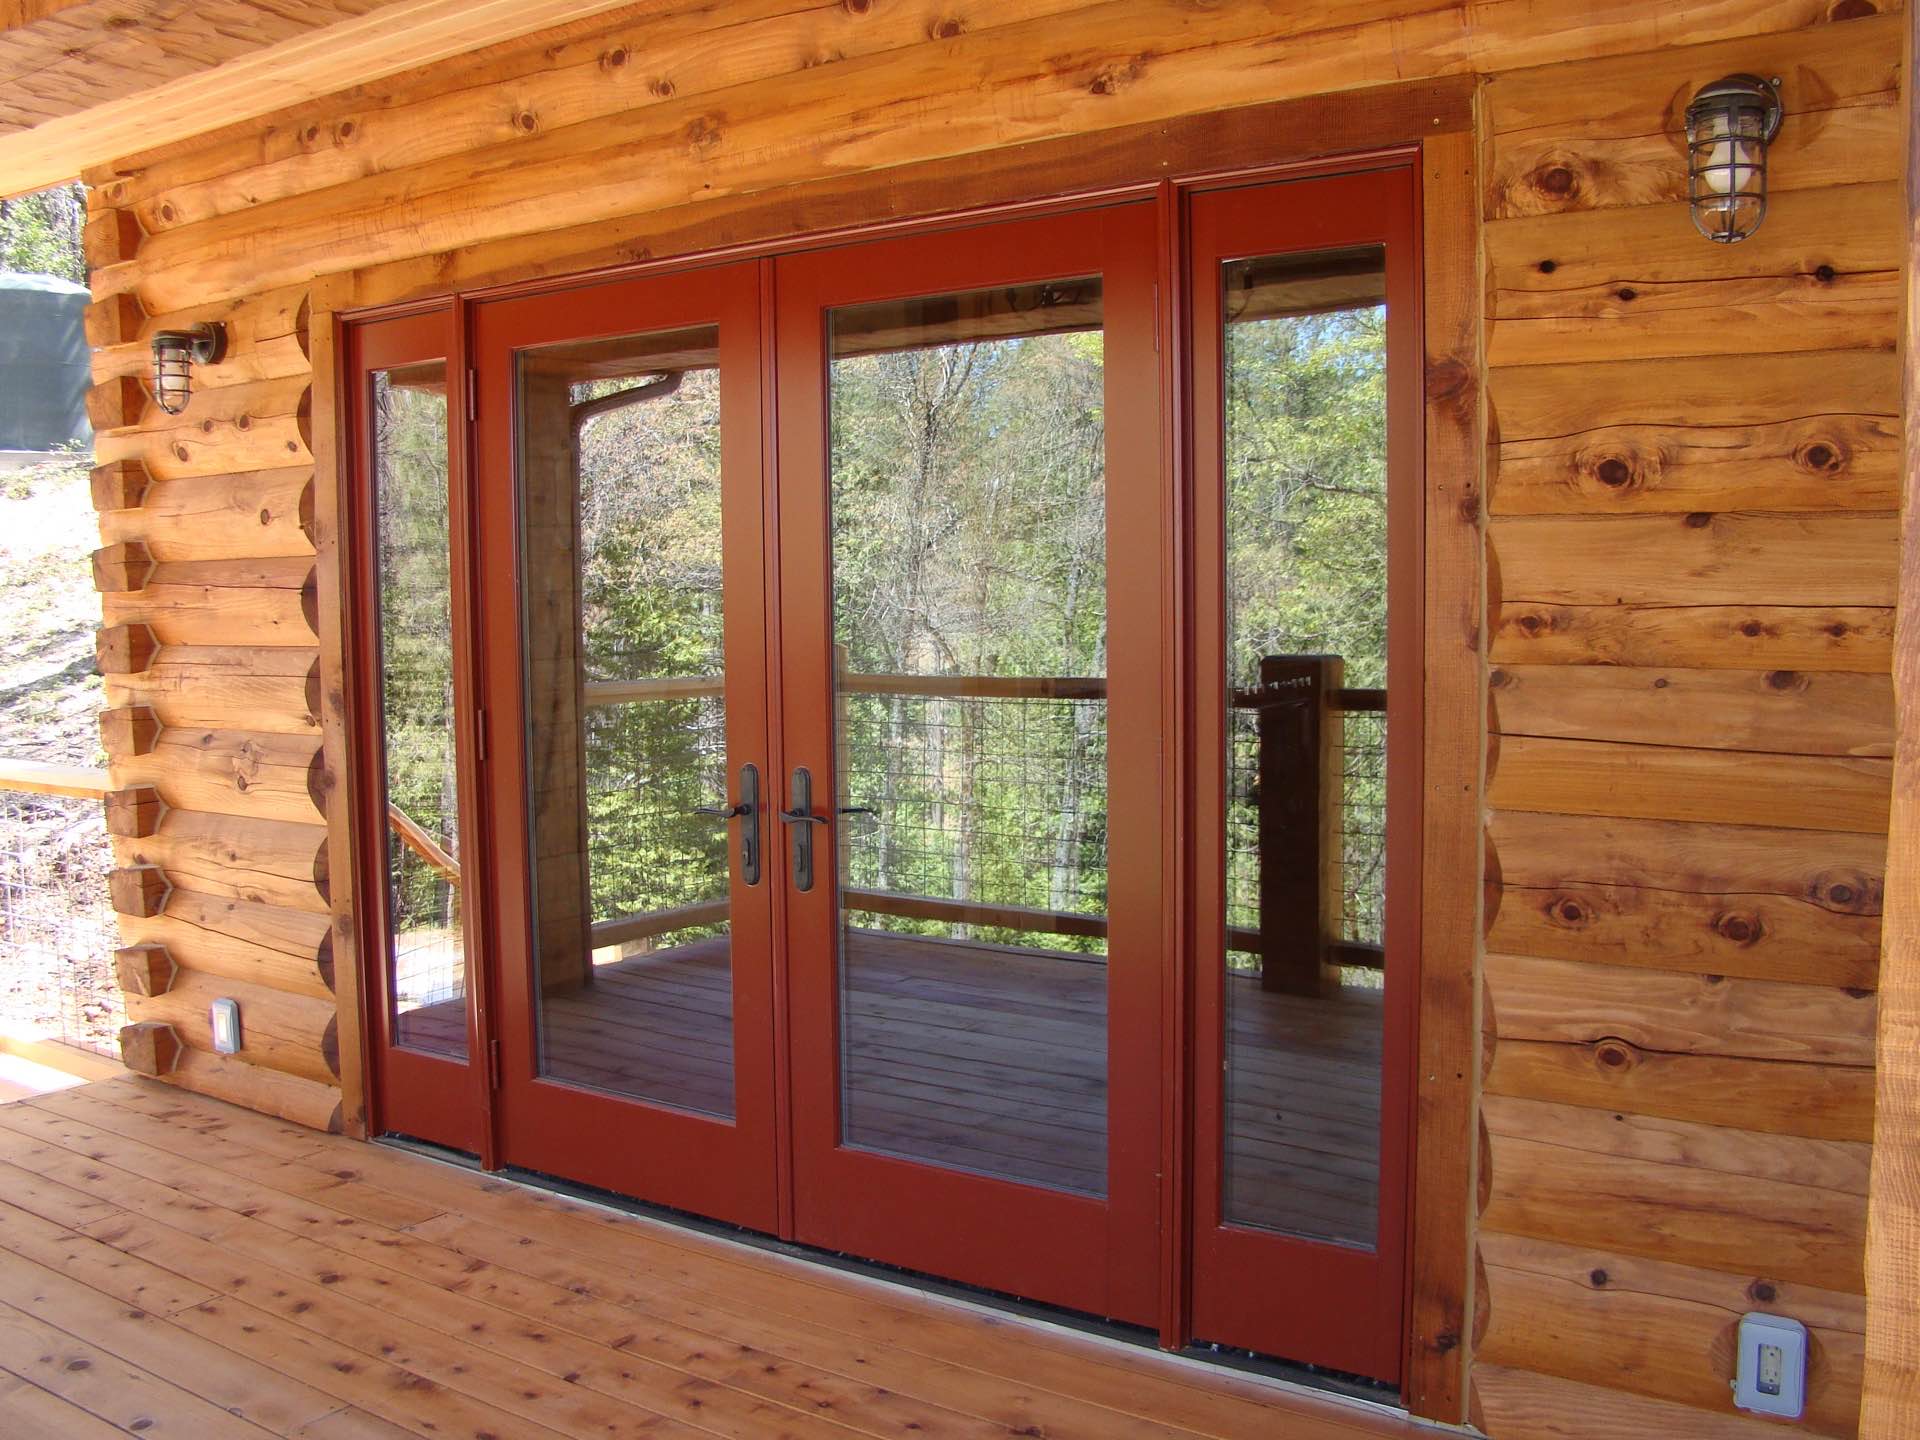
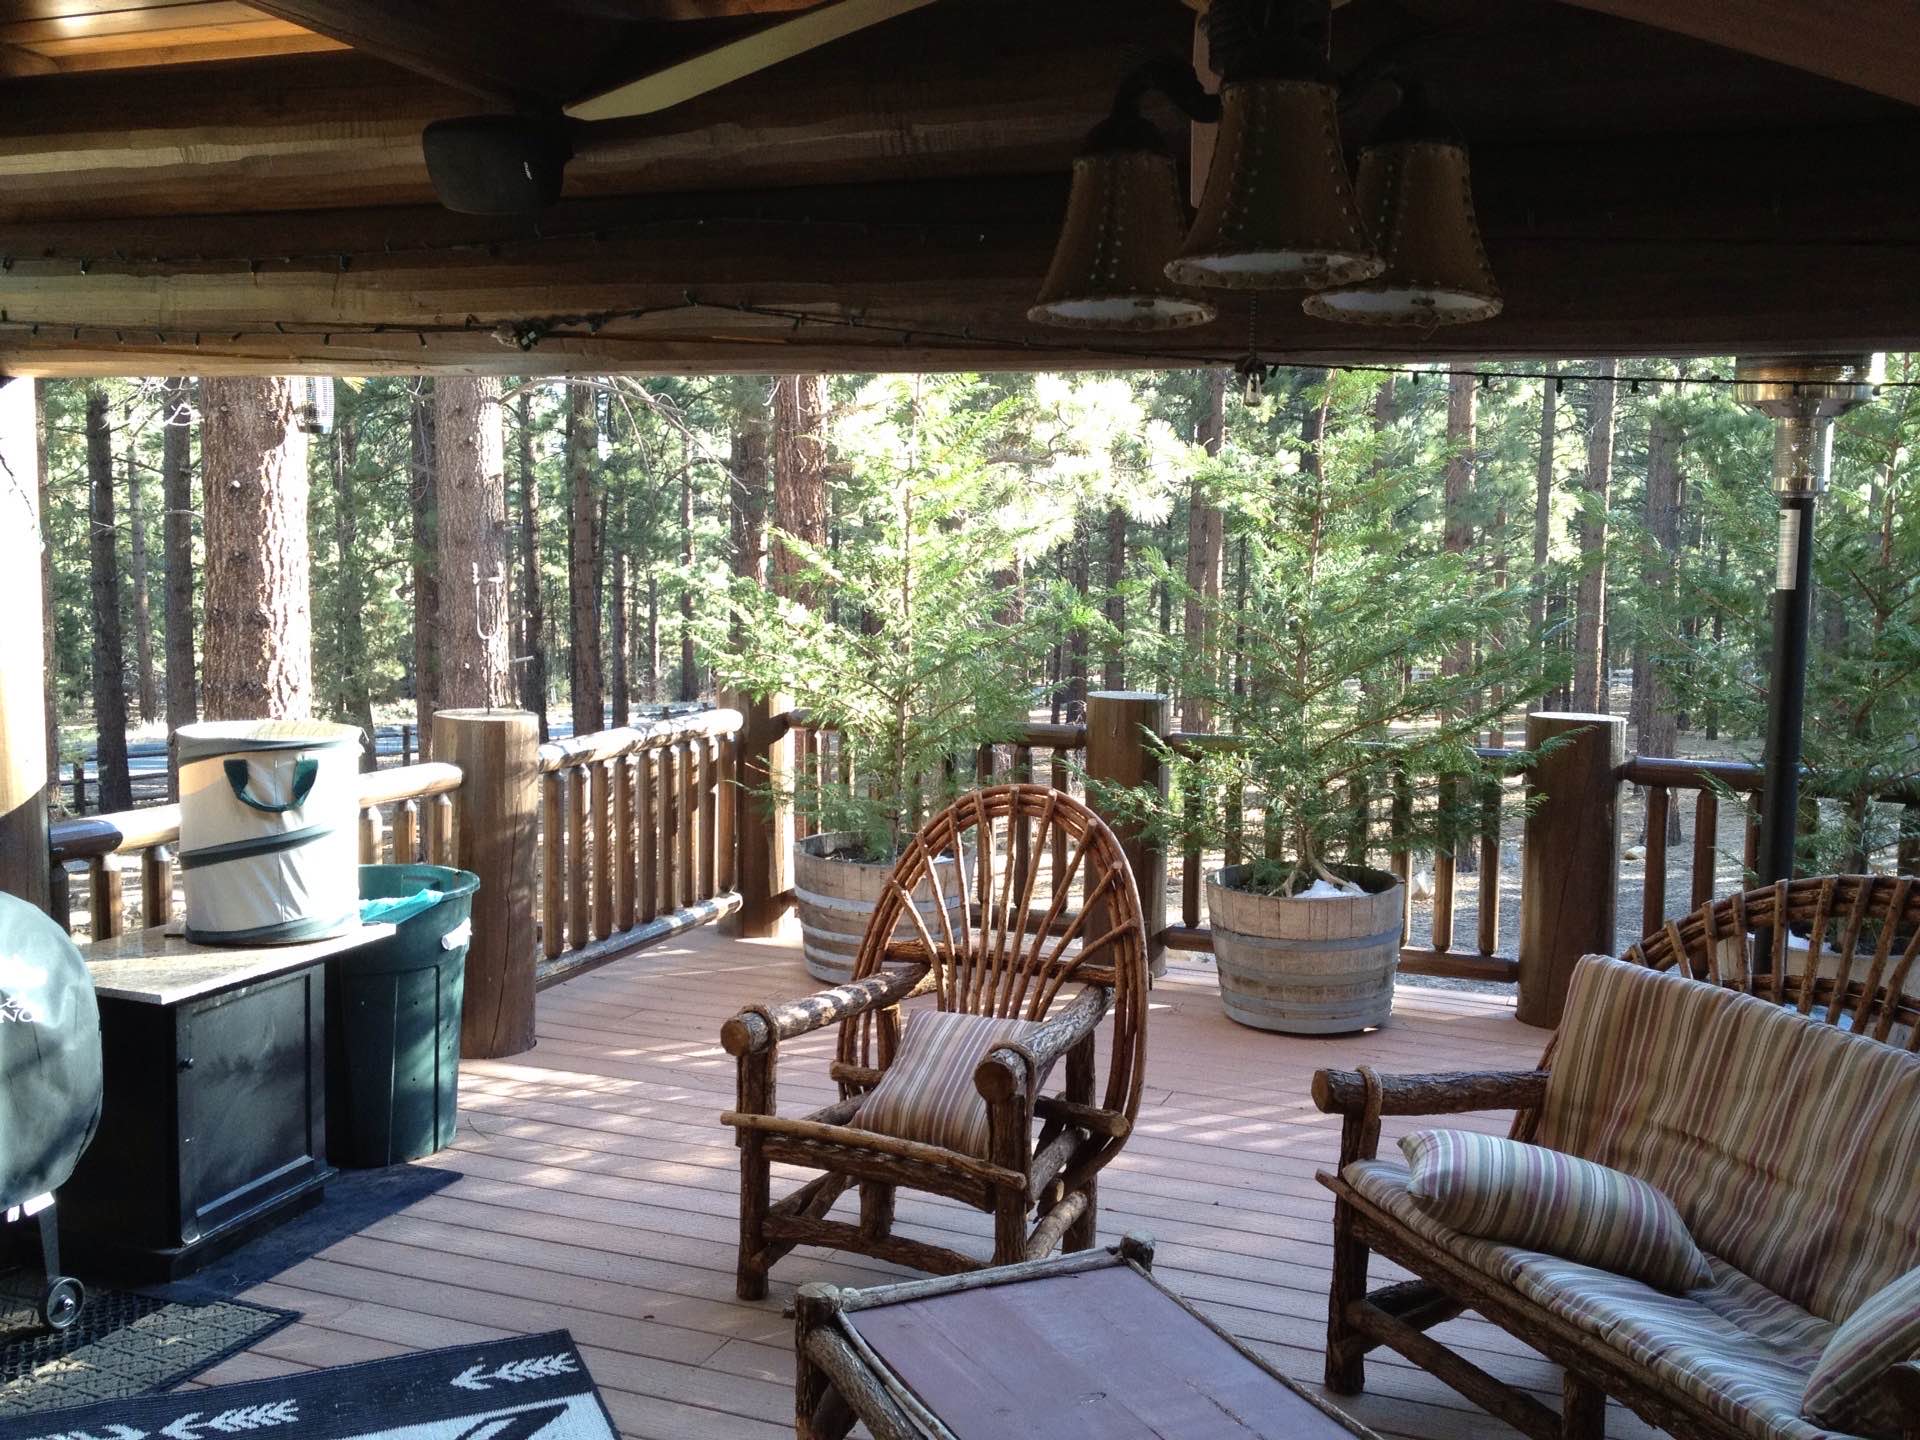
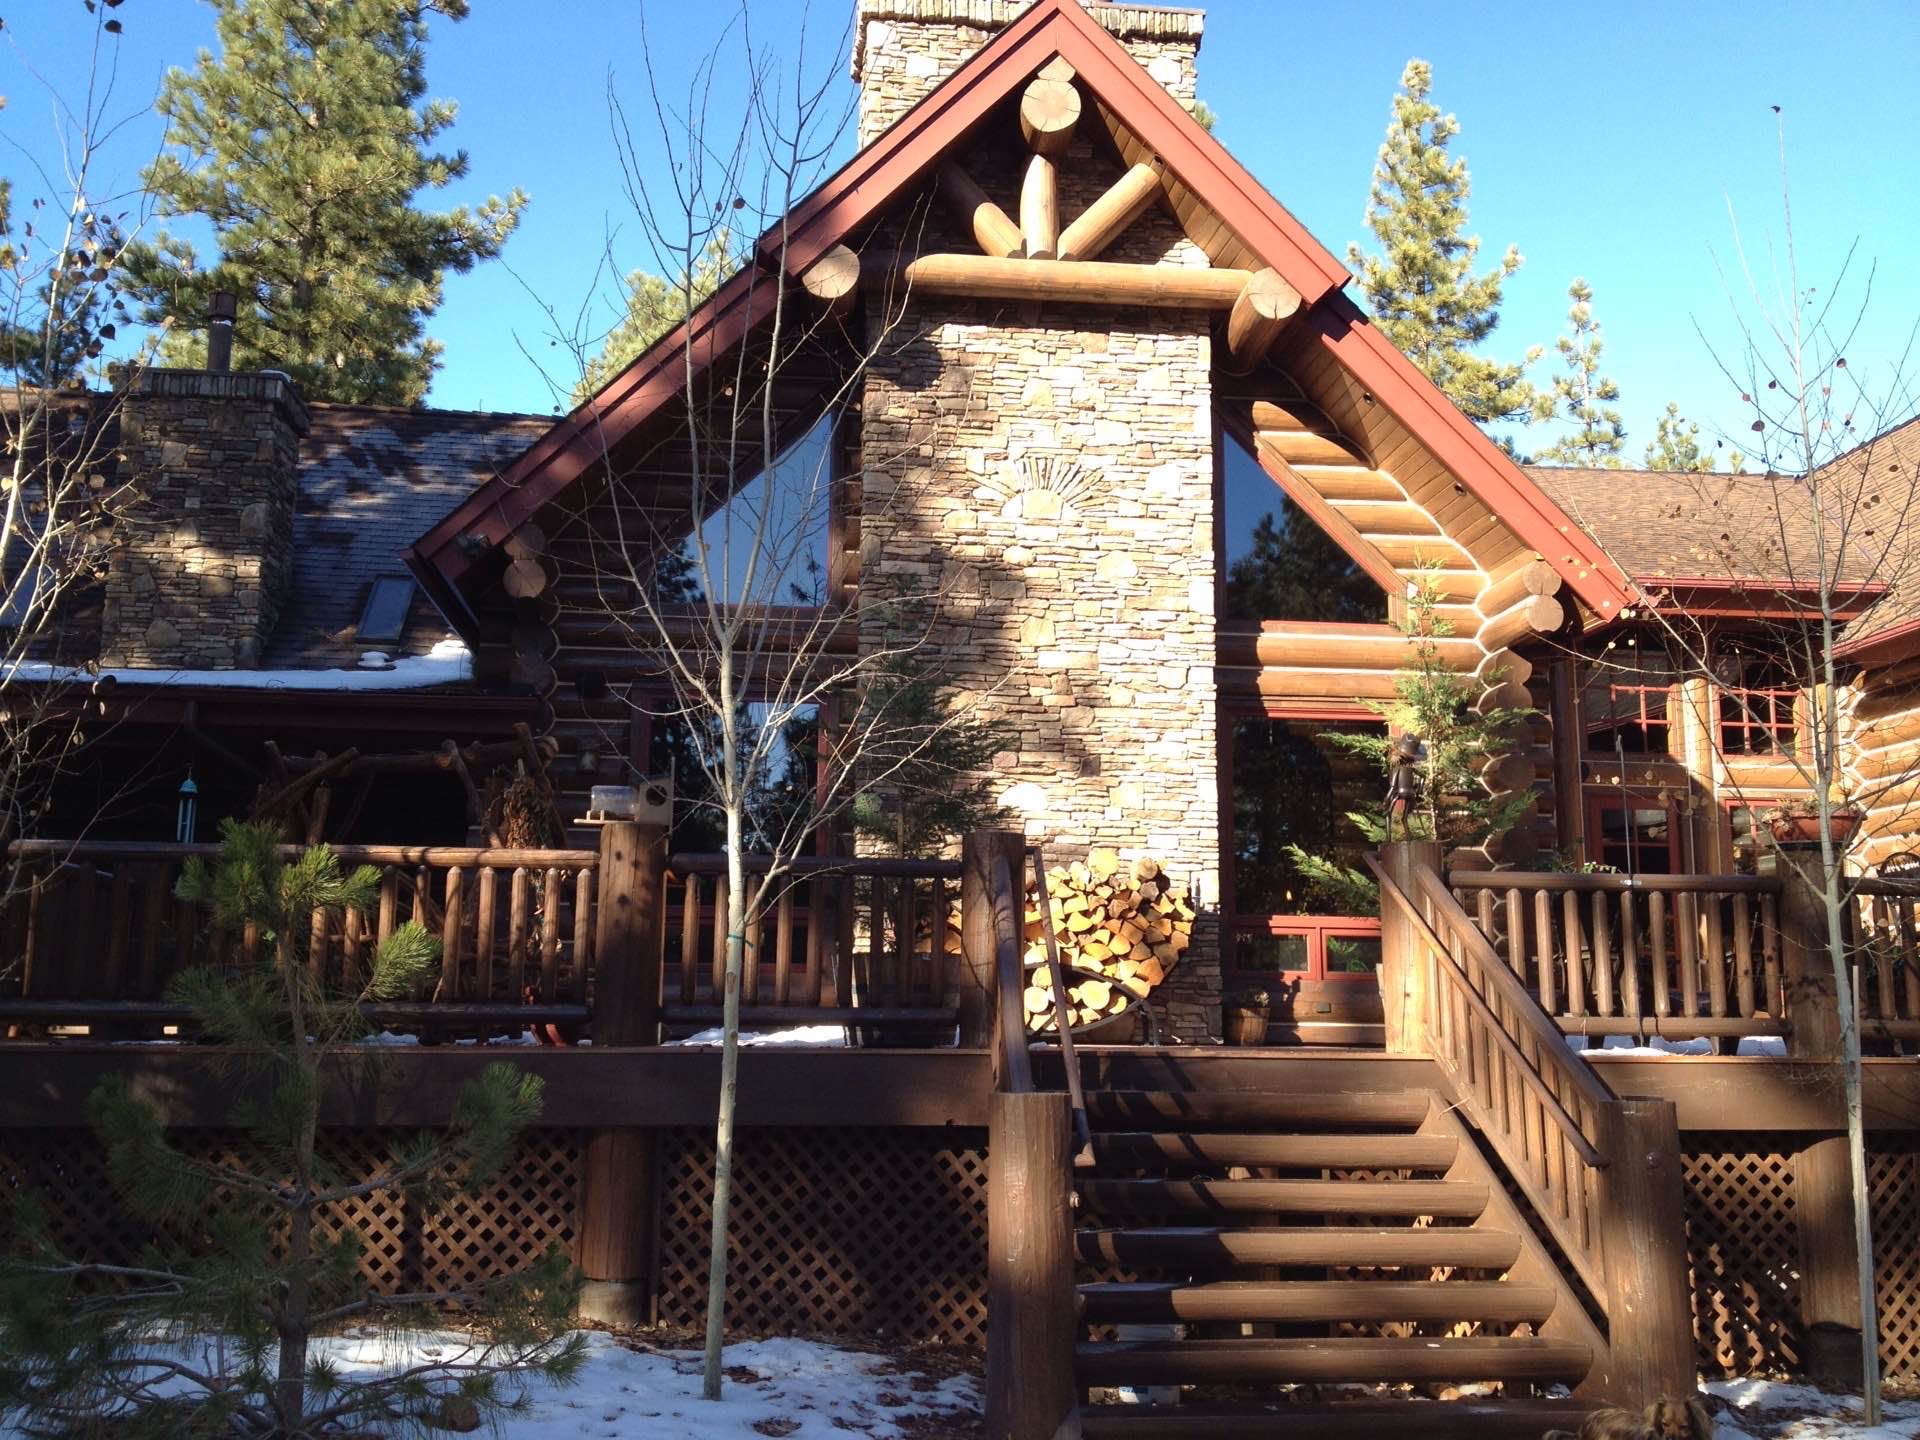
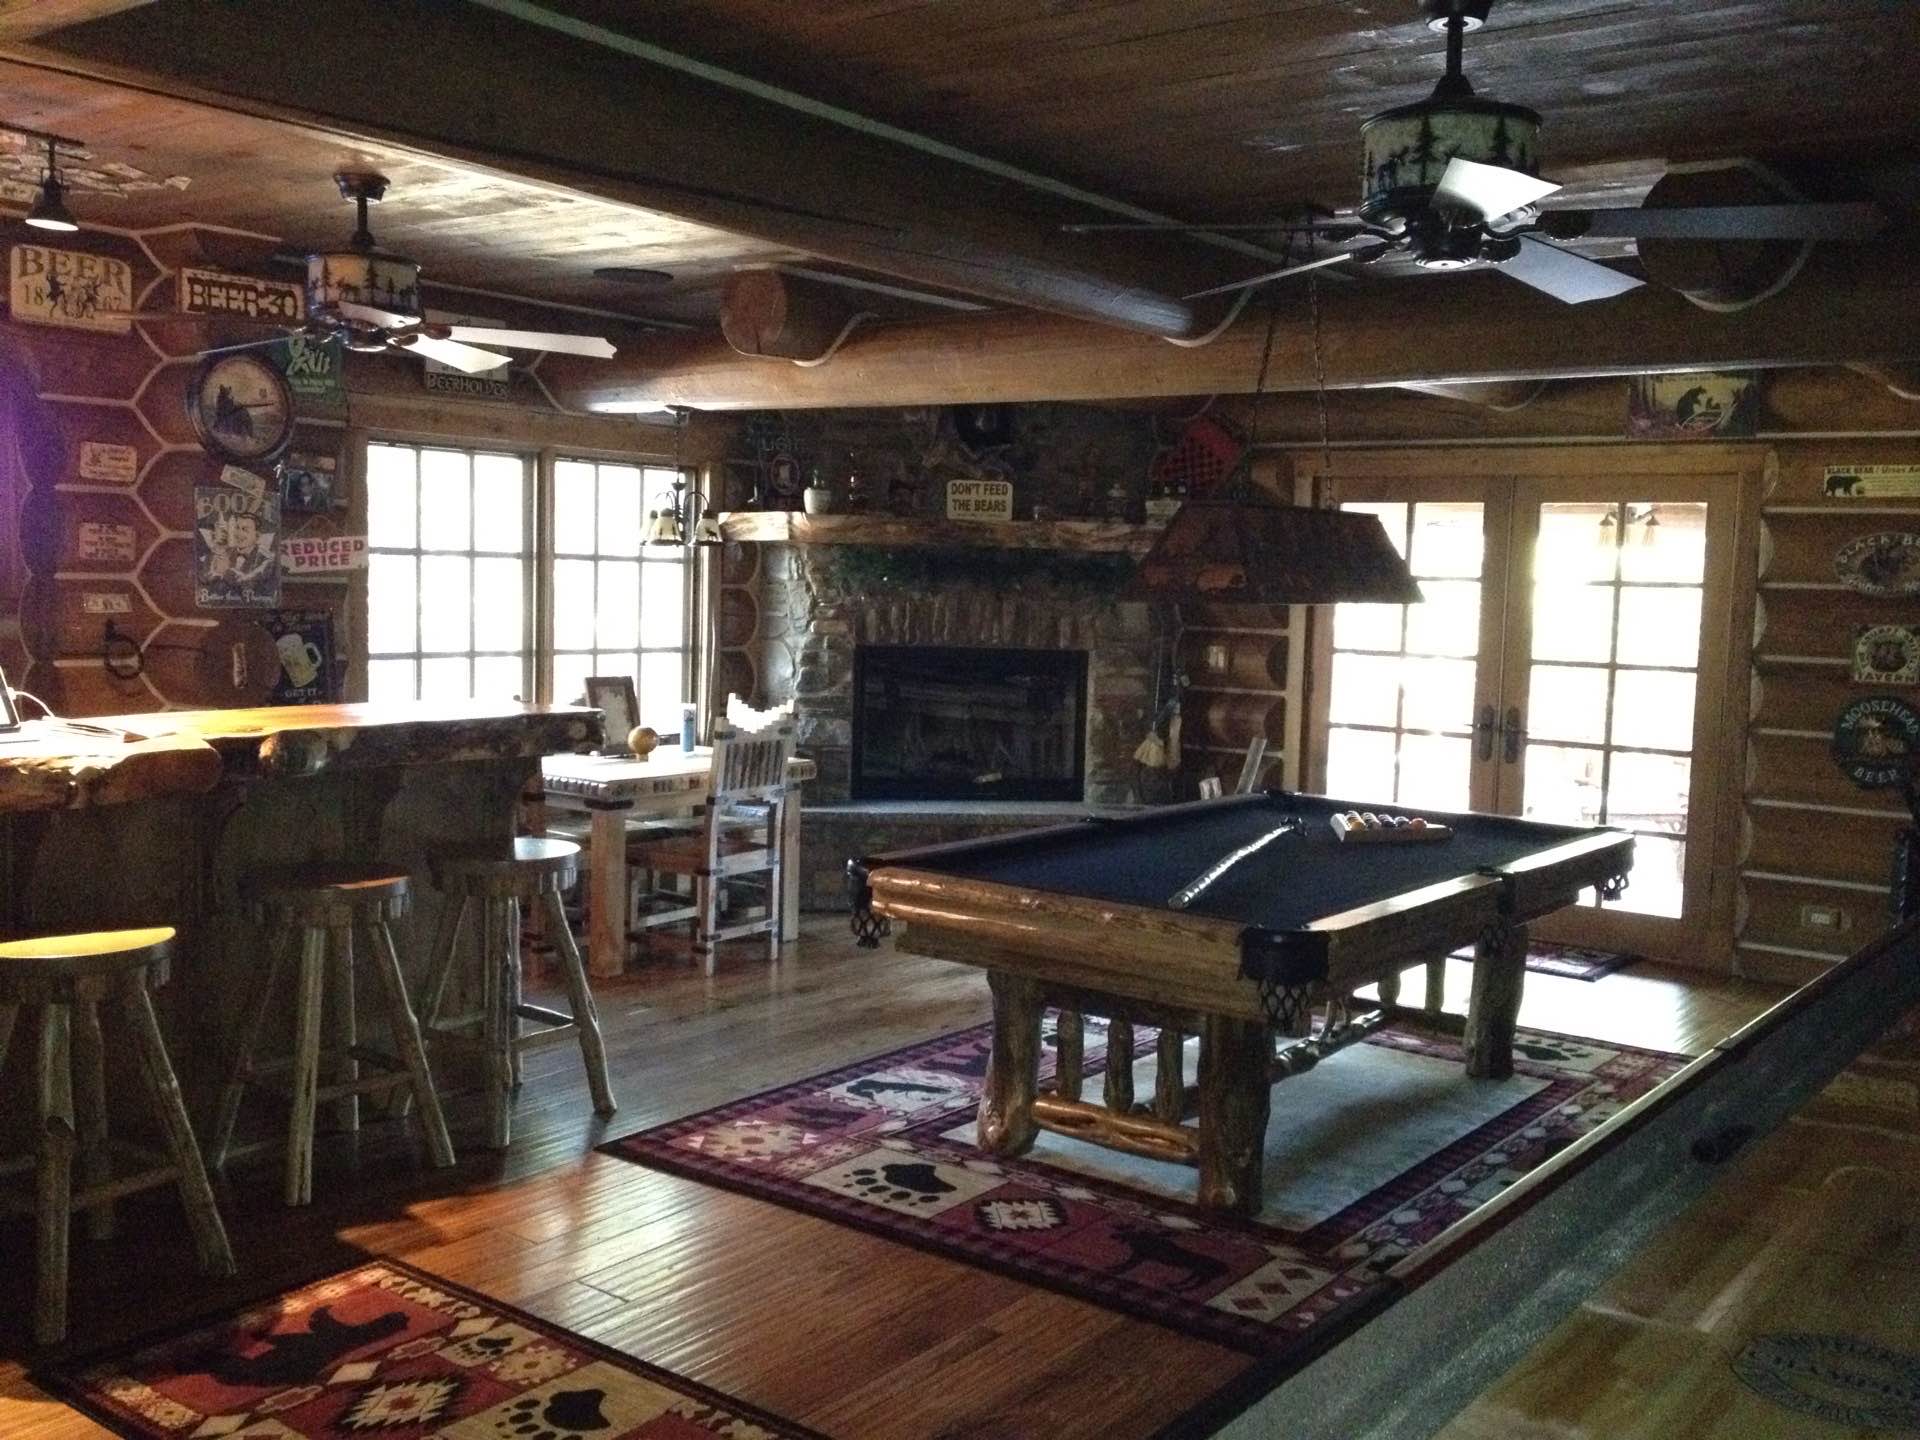
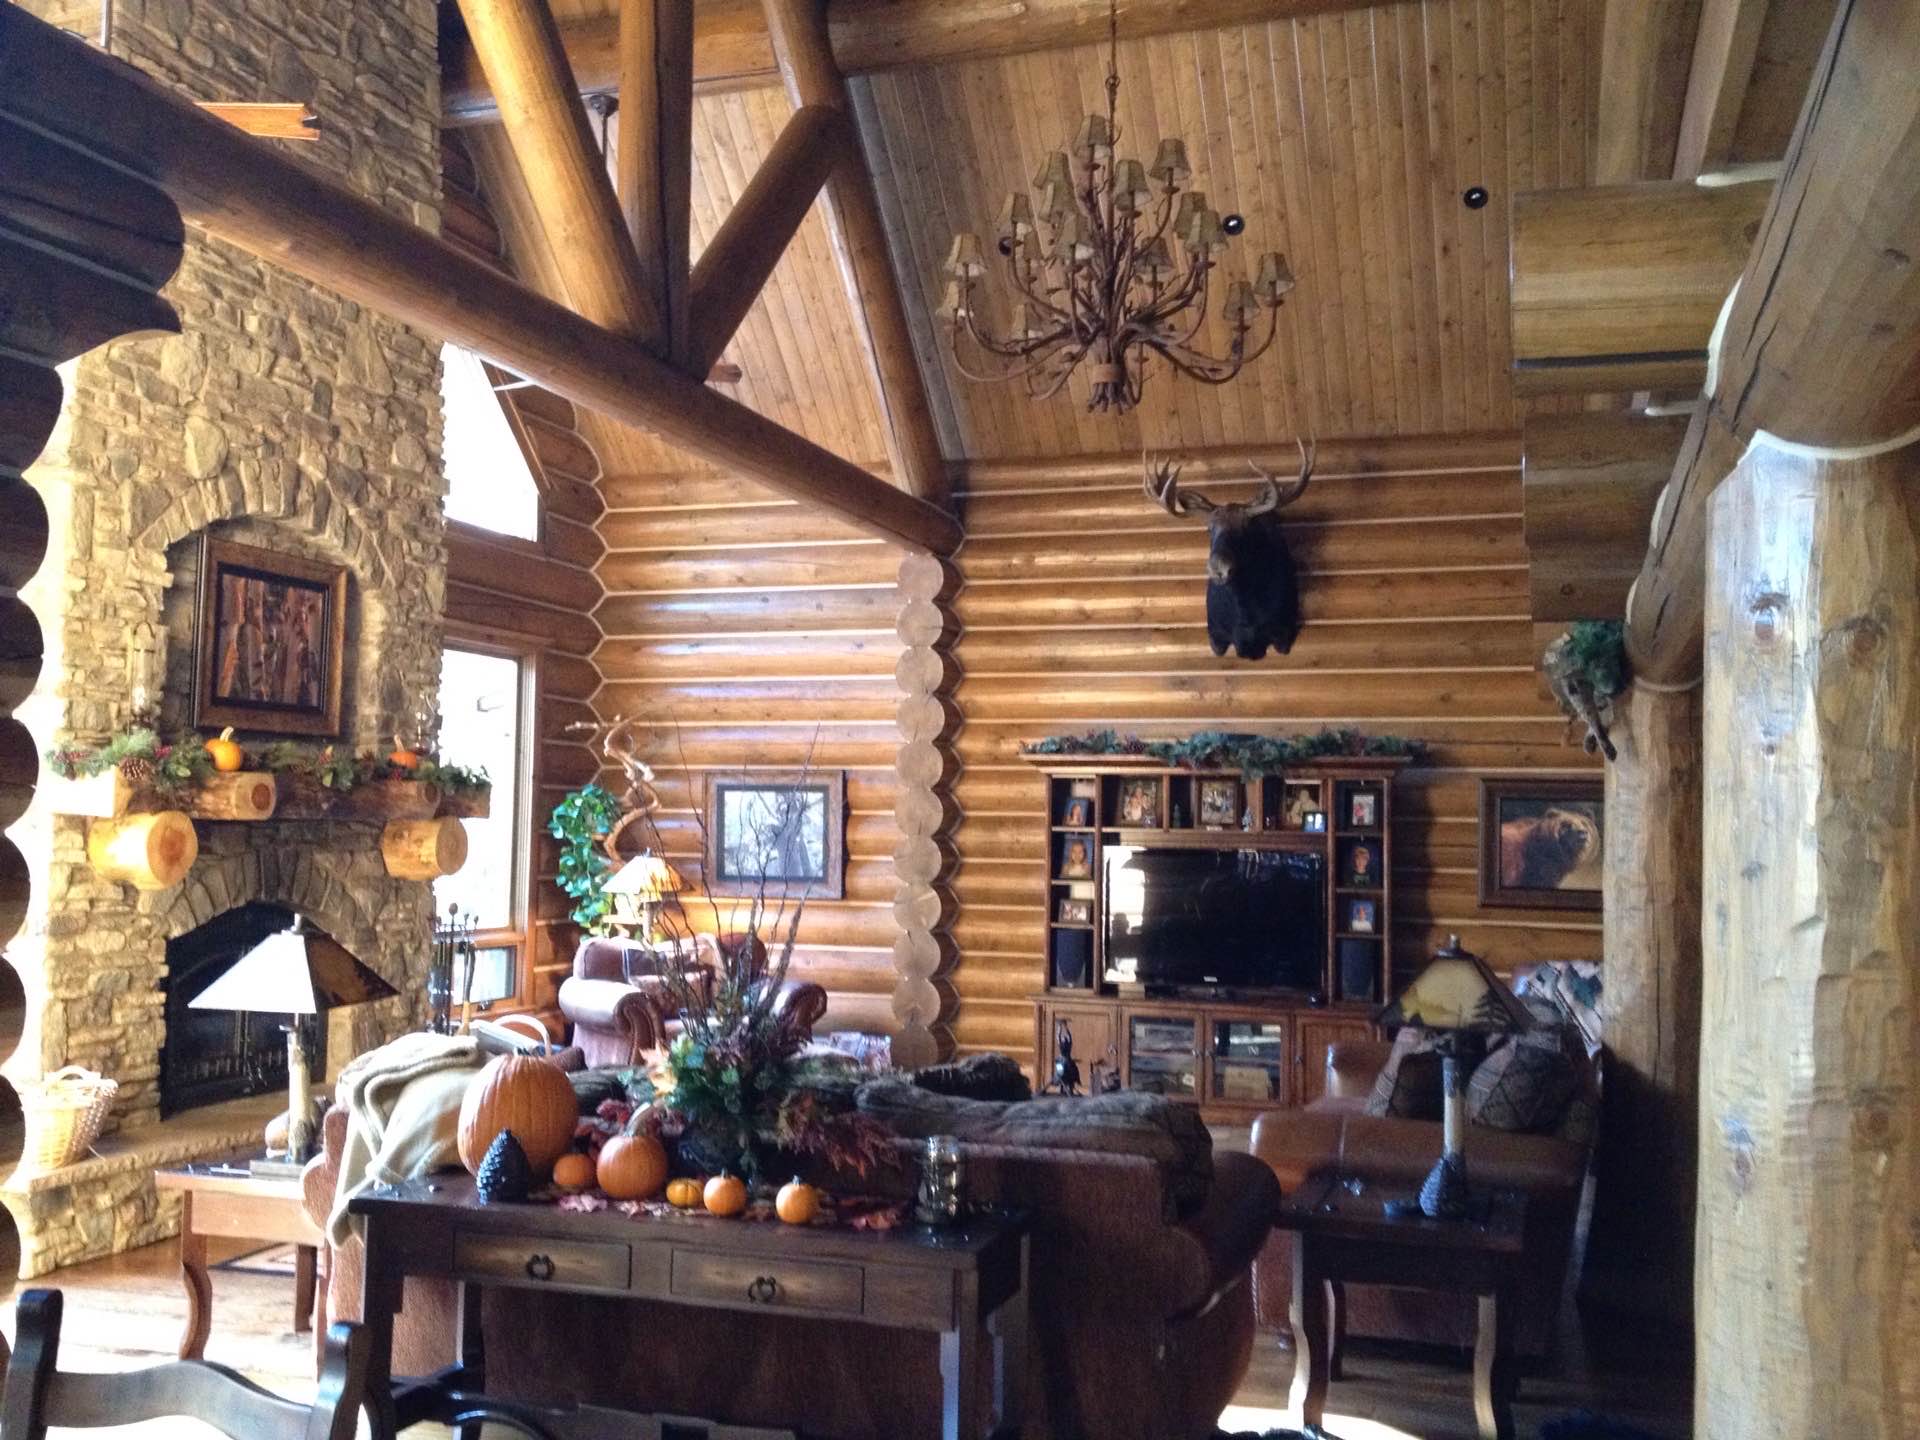
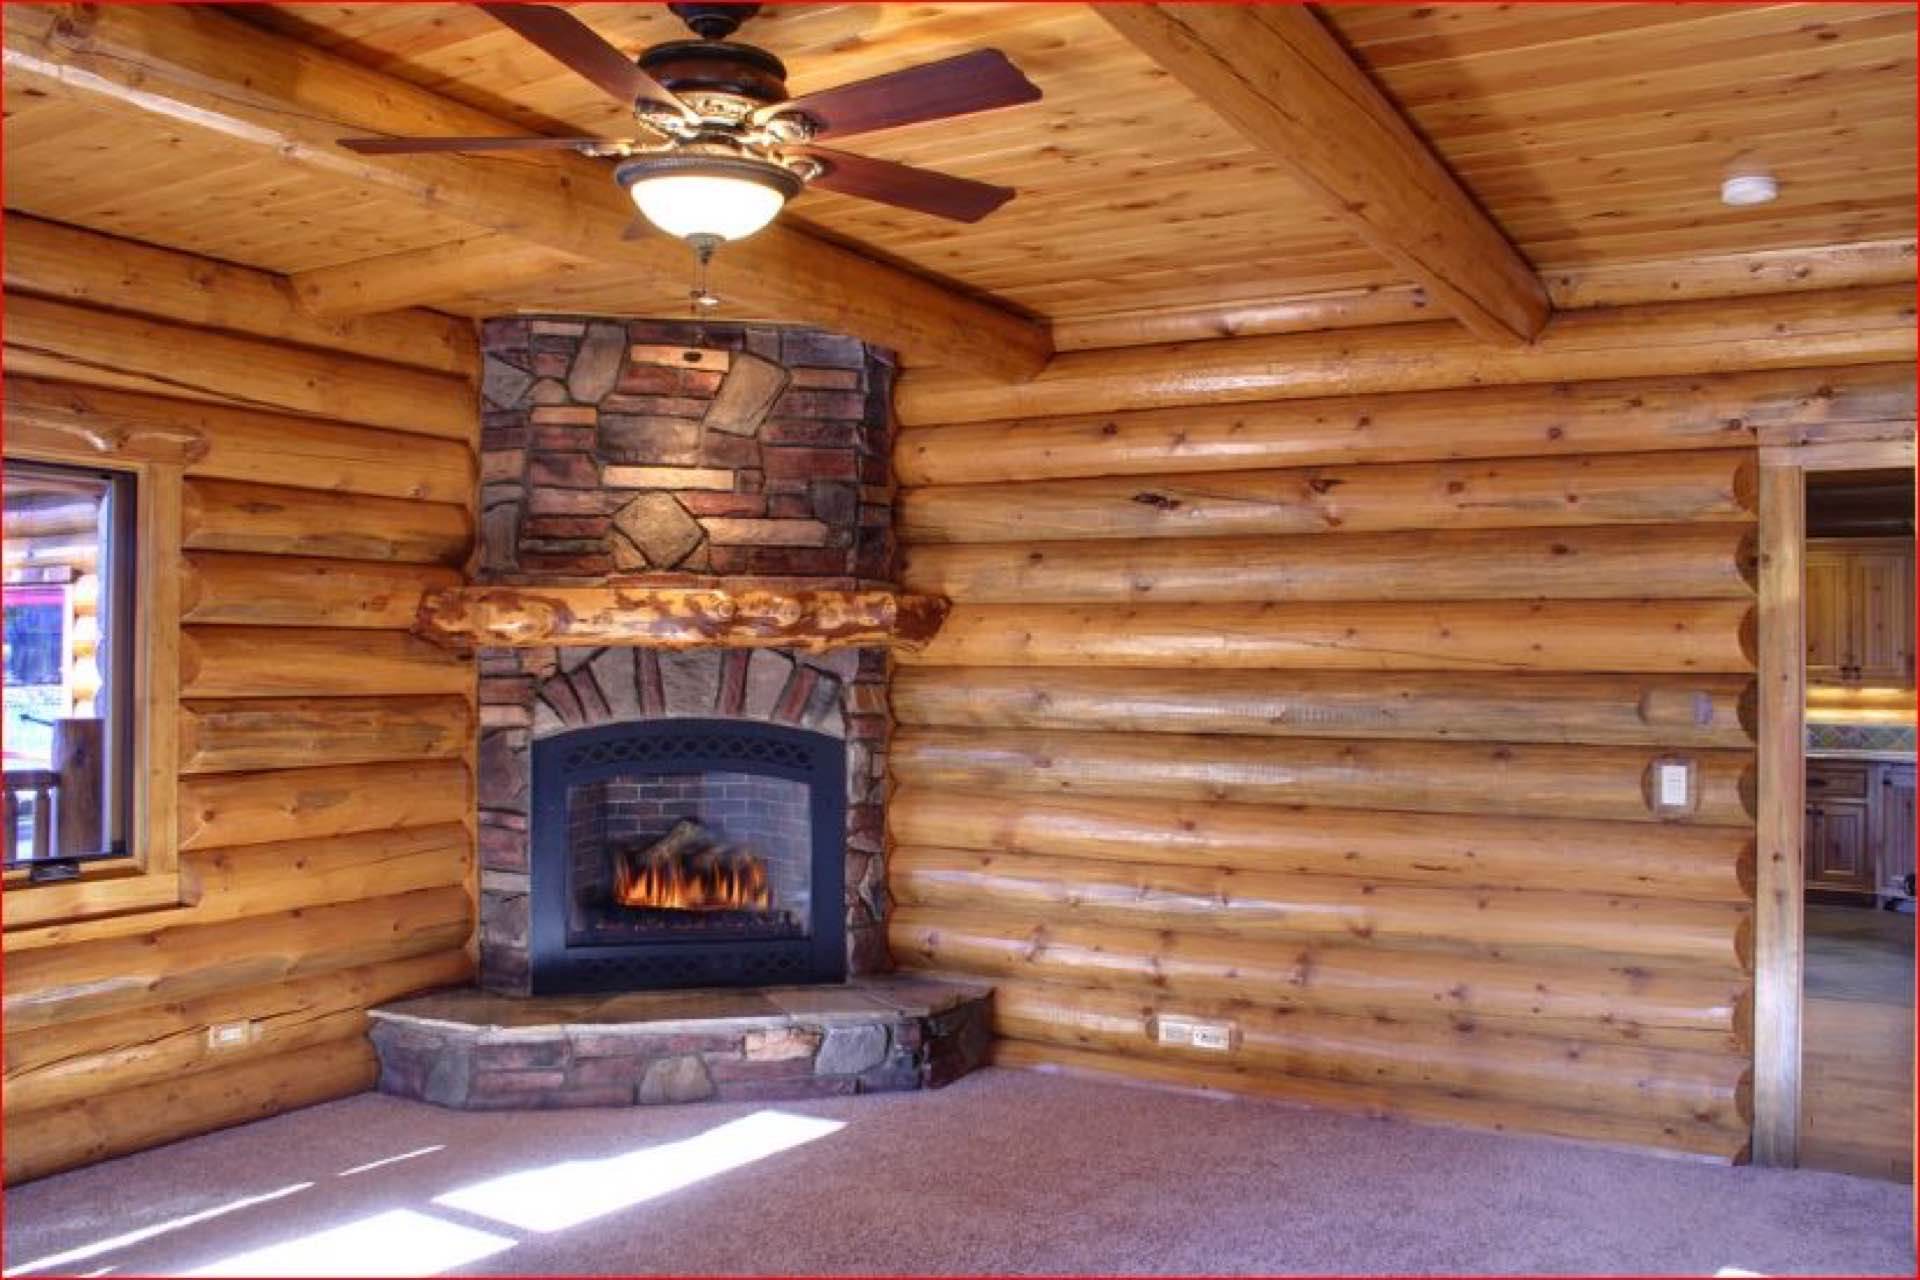
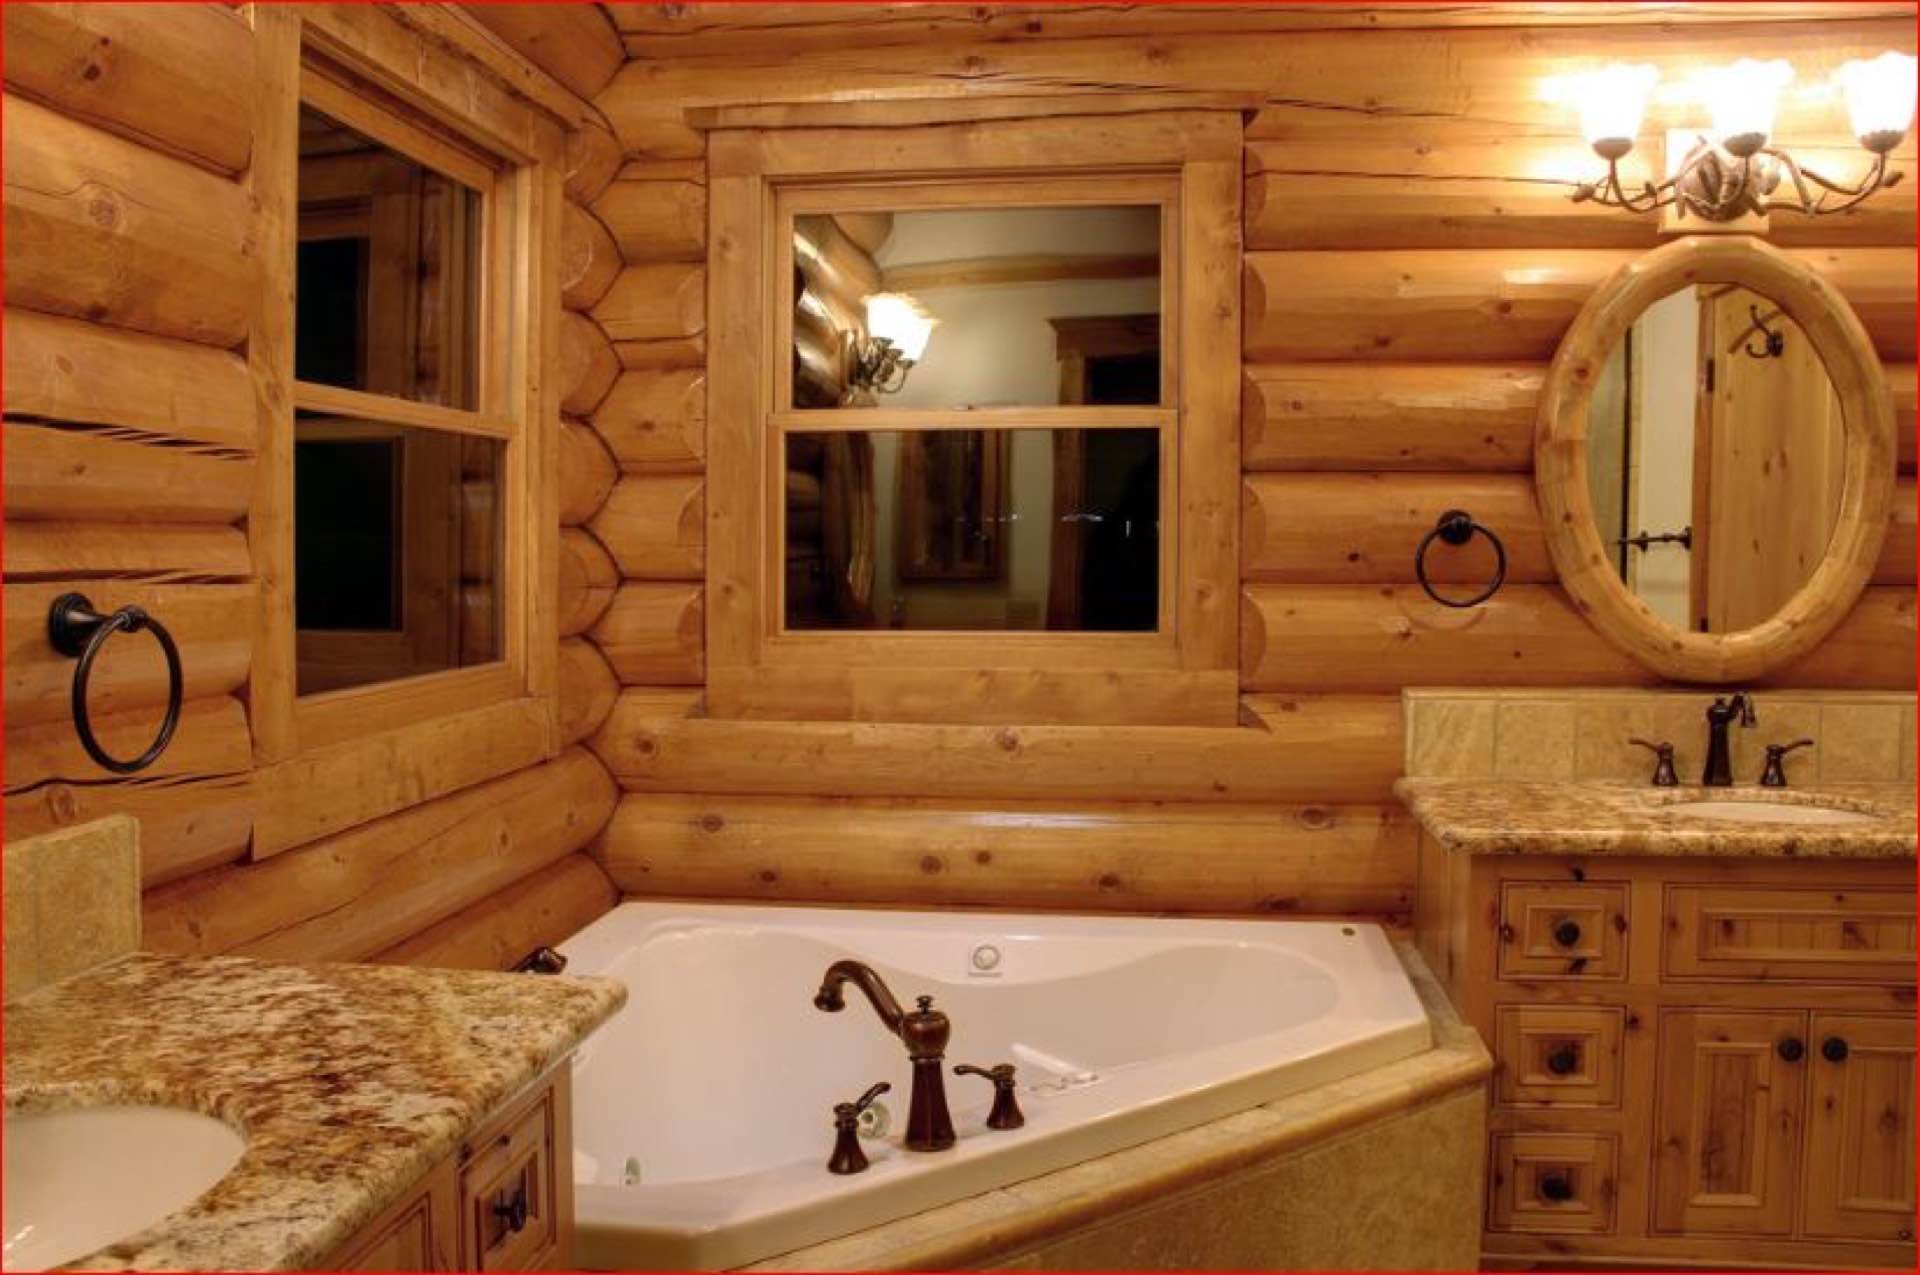
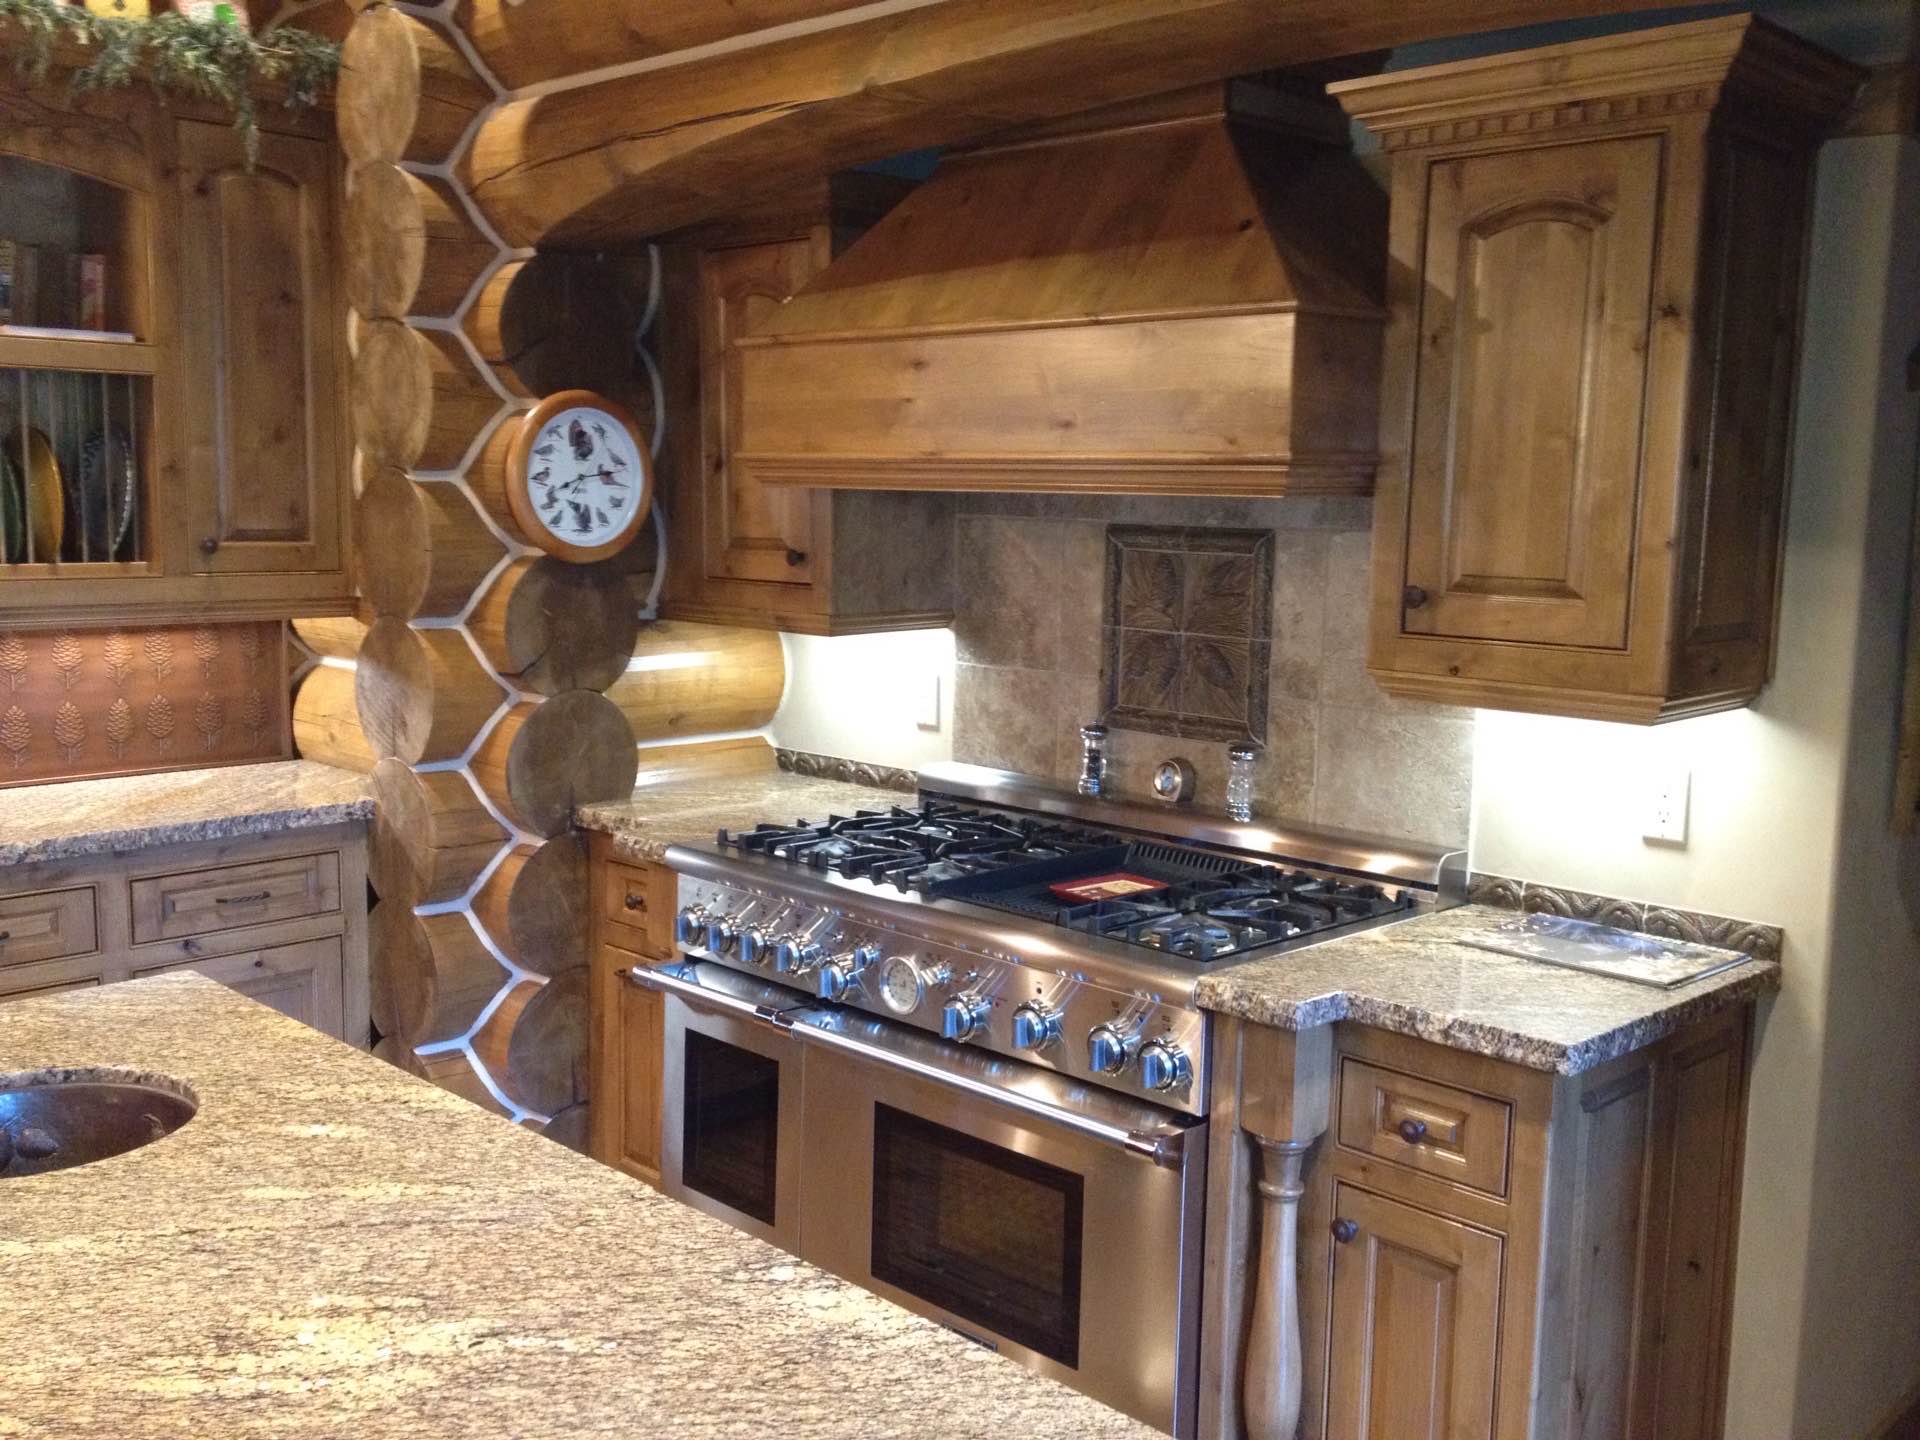
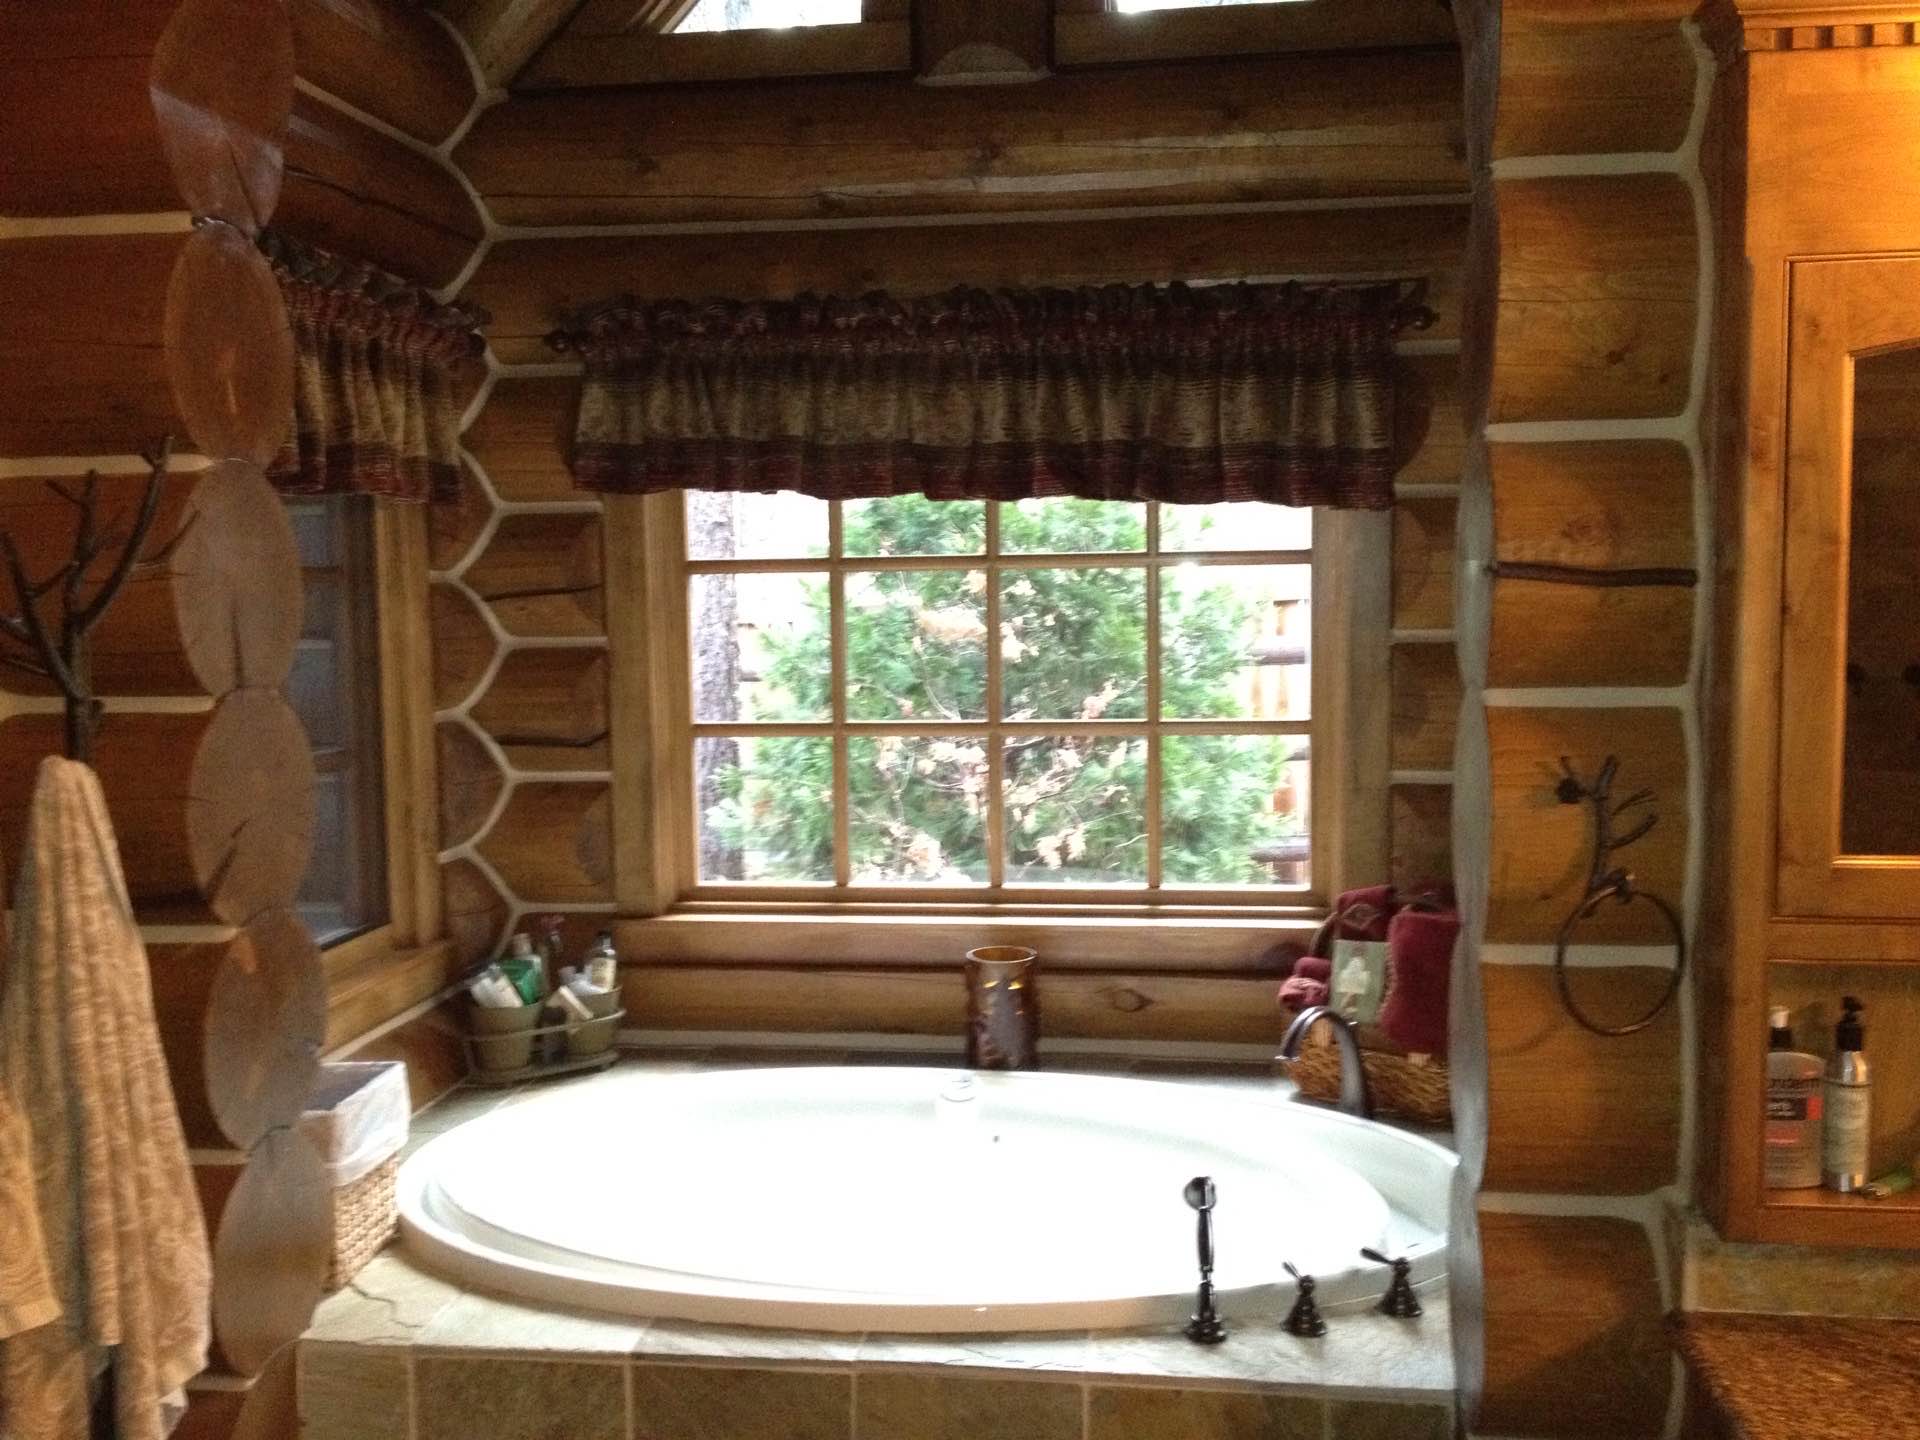
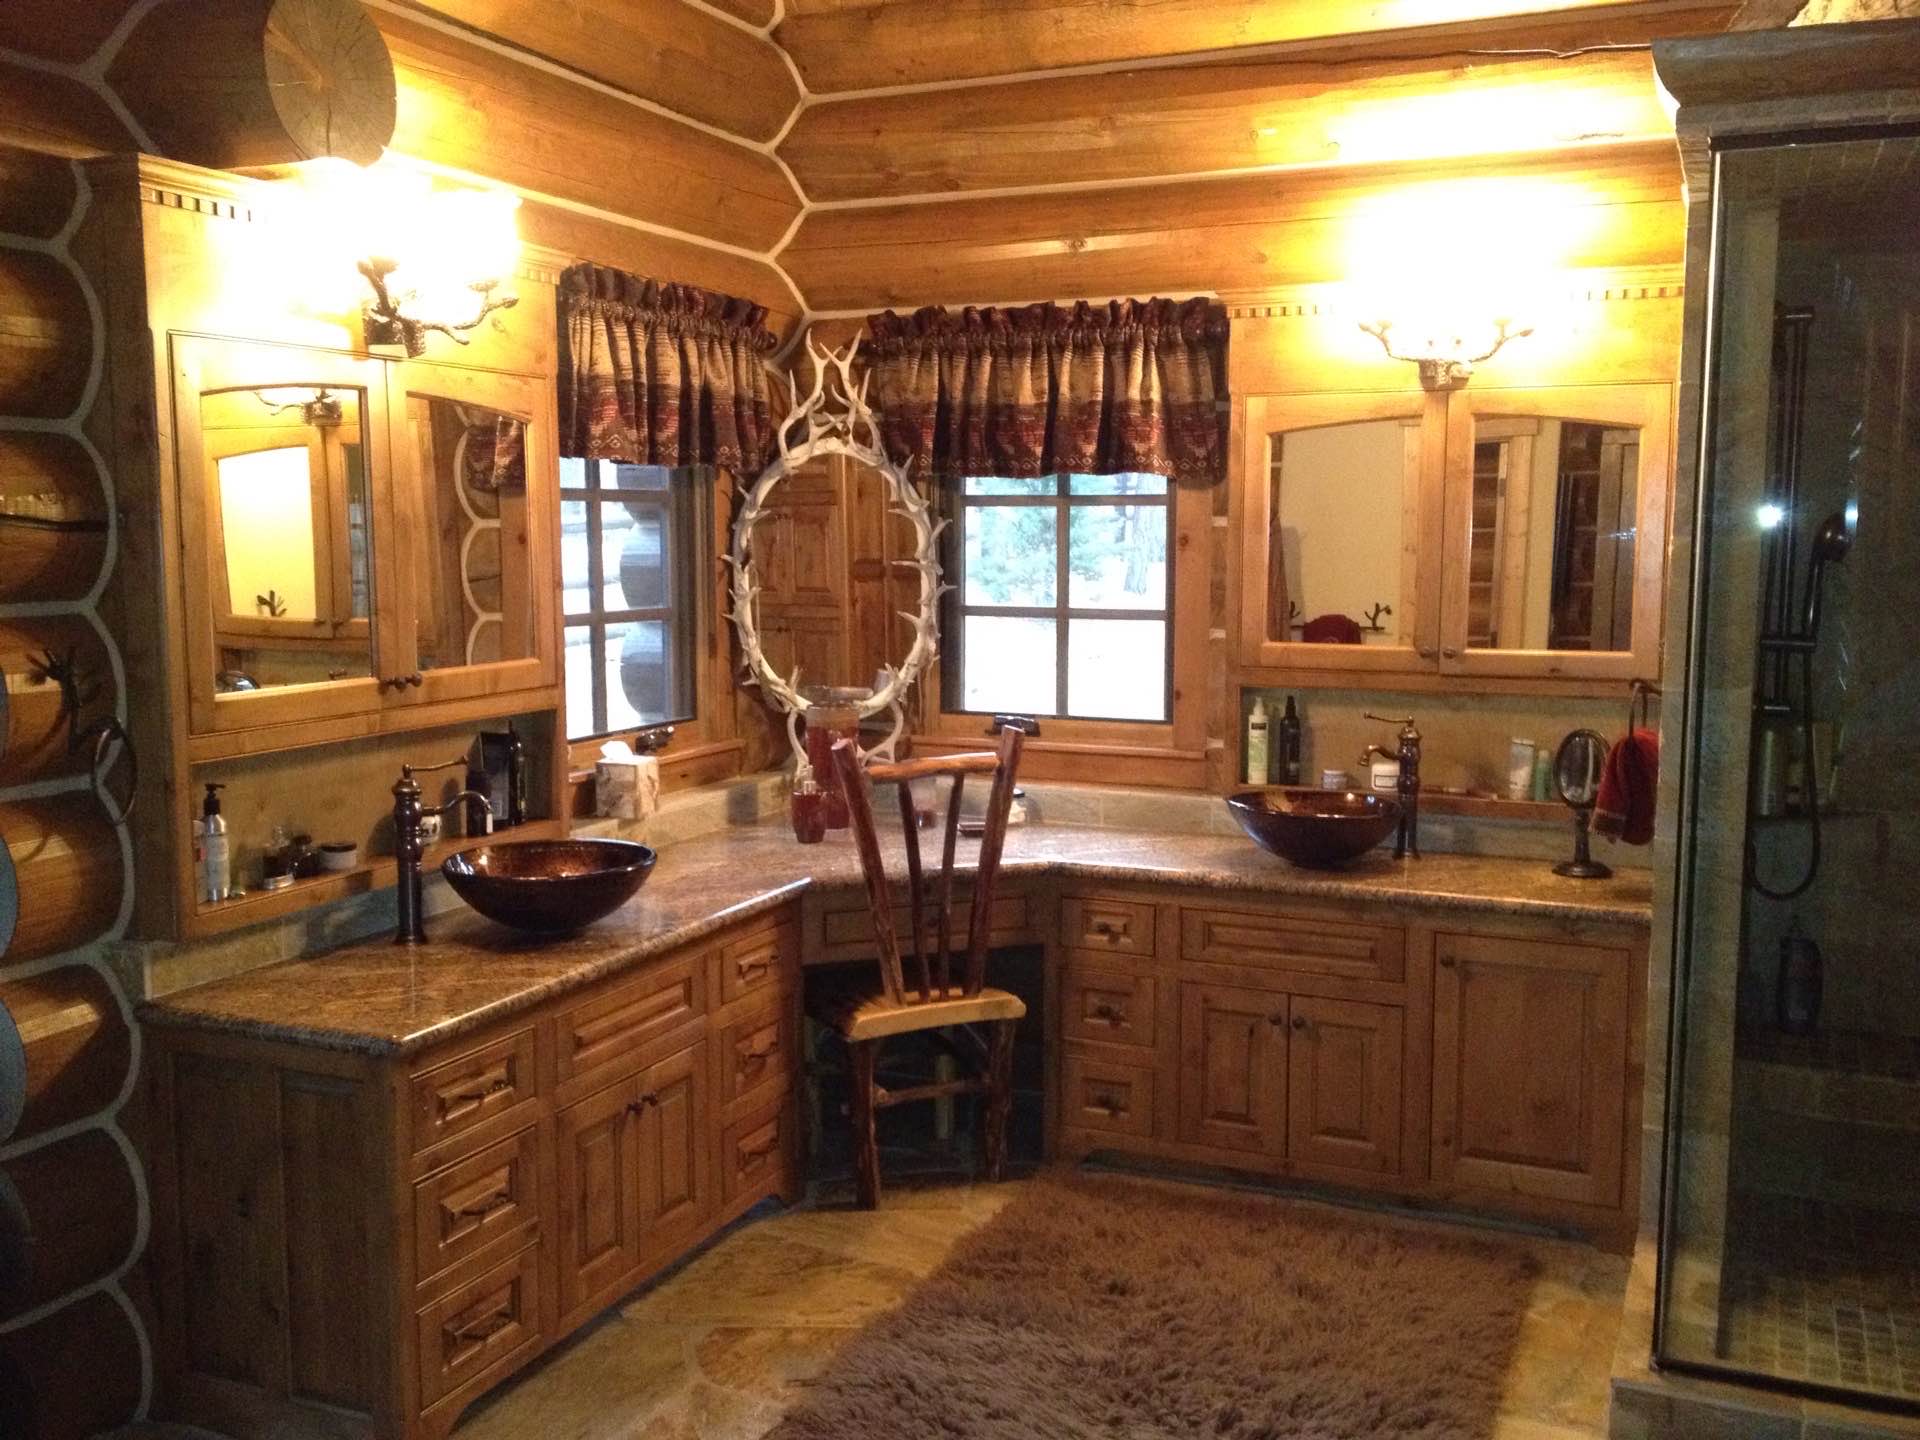
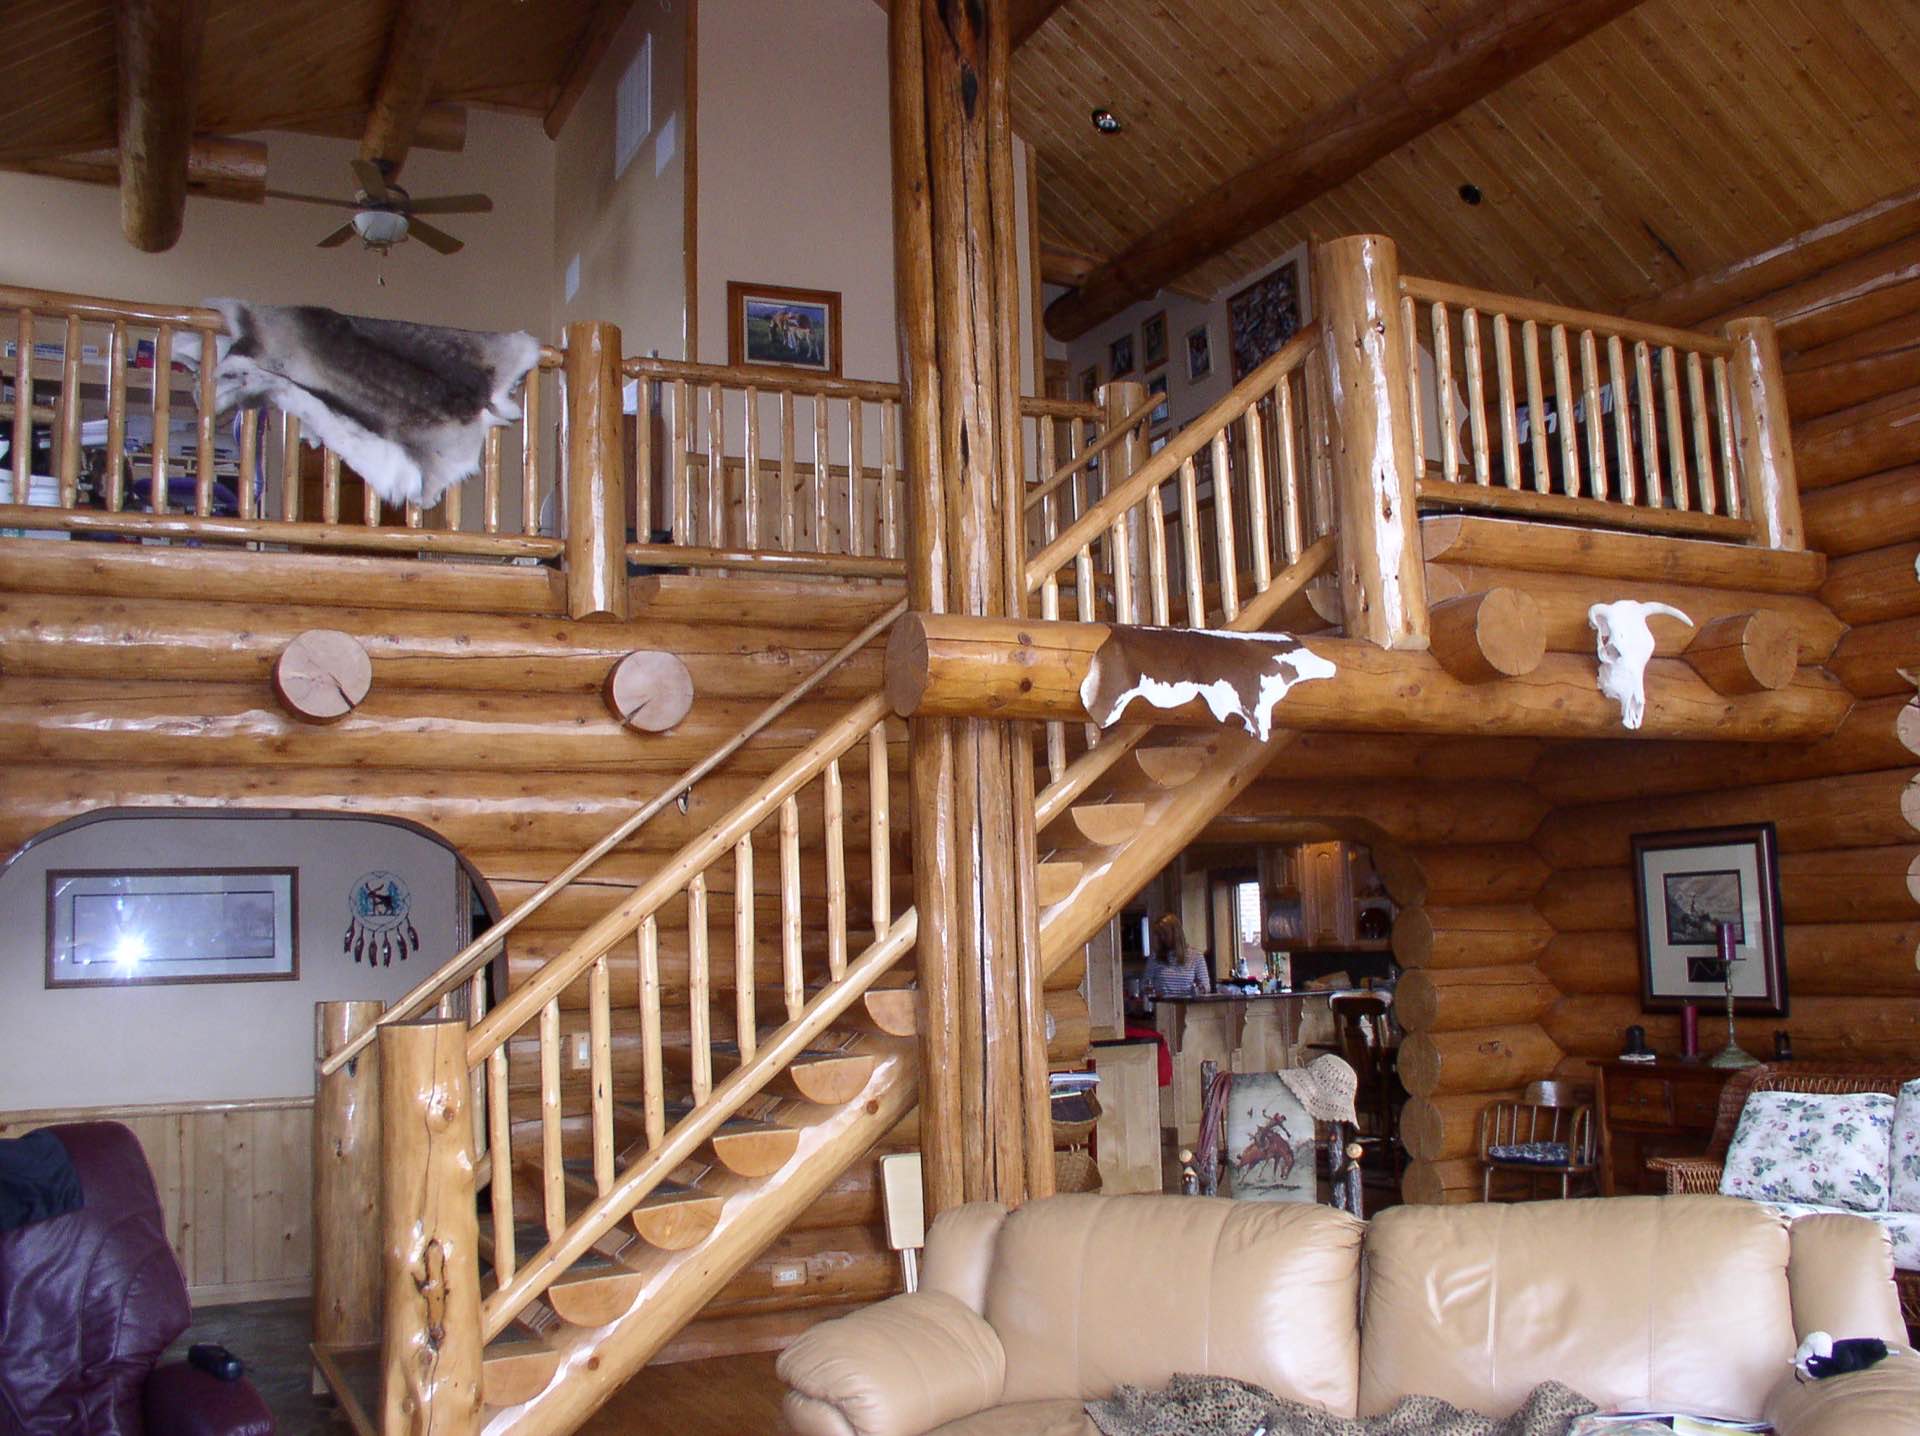
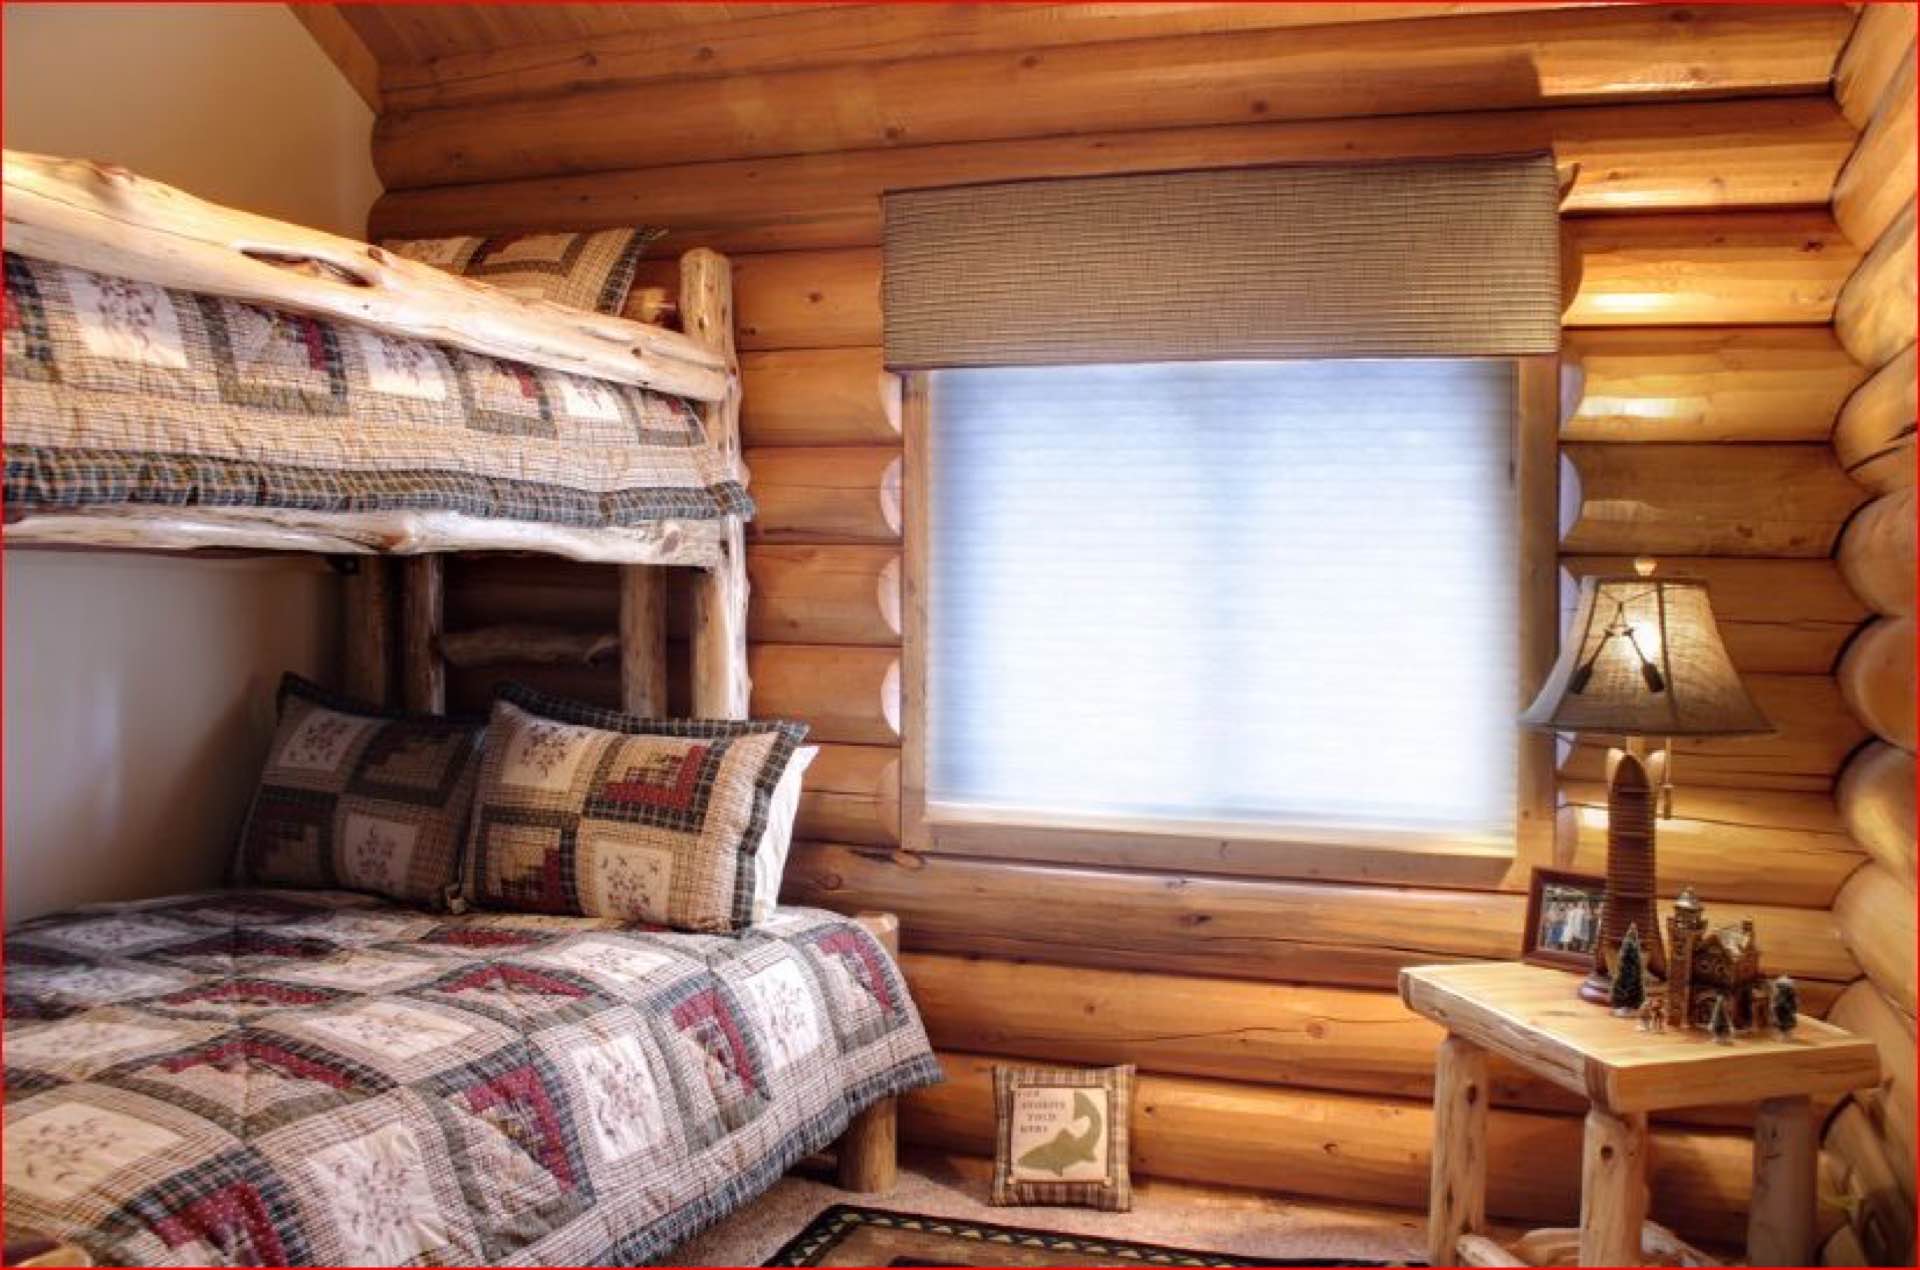
Custom Sierra log home photo Your future home
On track
0%
Ready to start · Phase 1
Homes from the Sierra collection
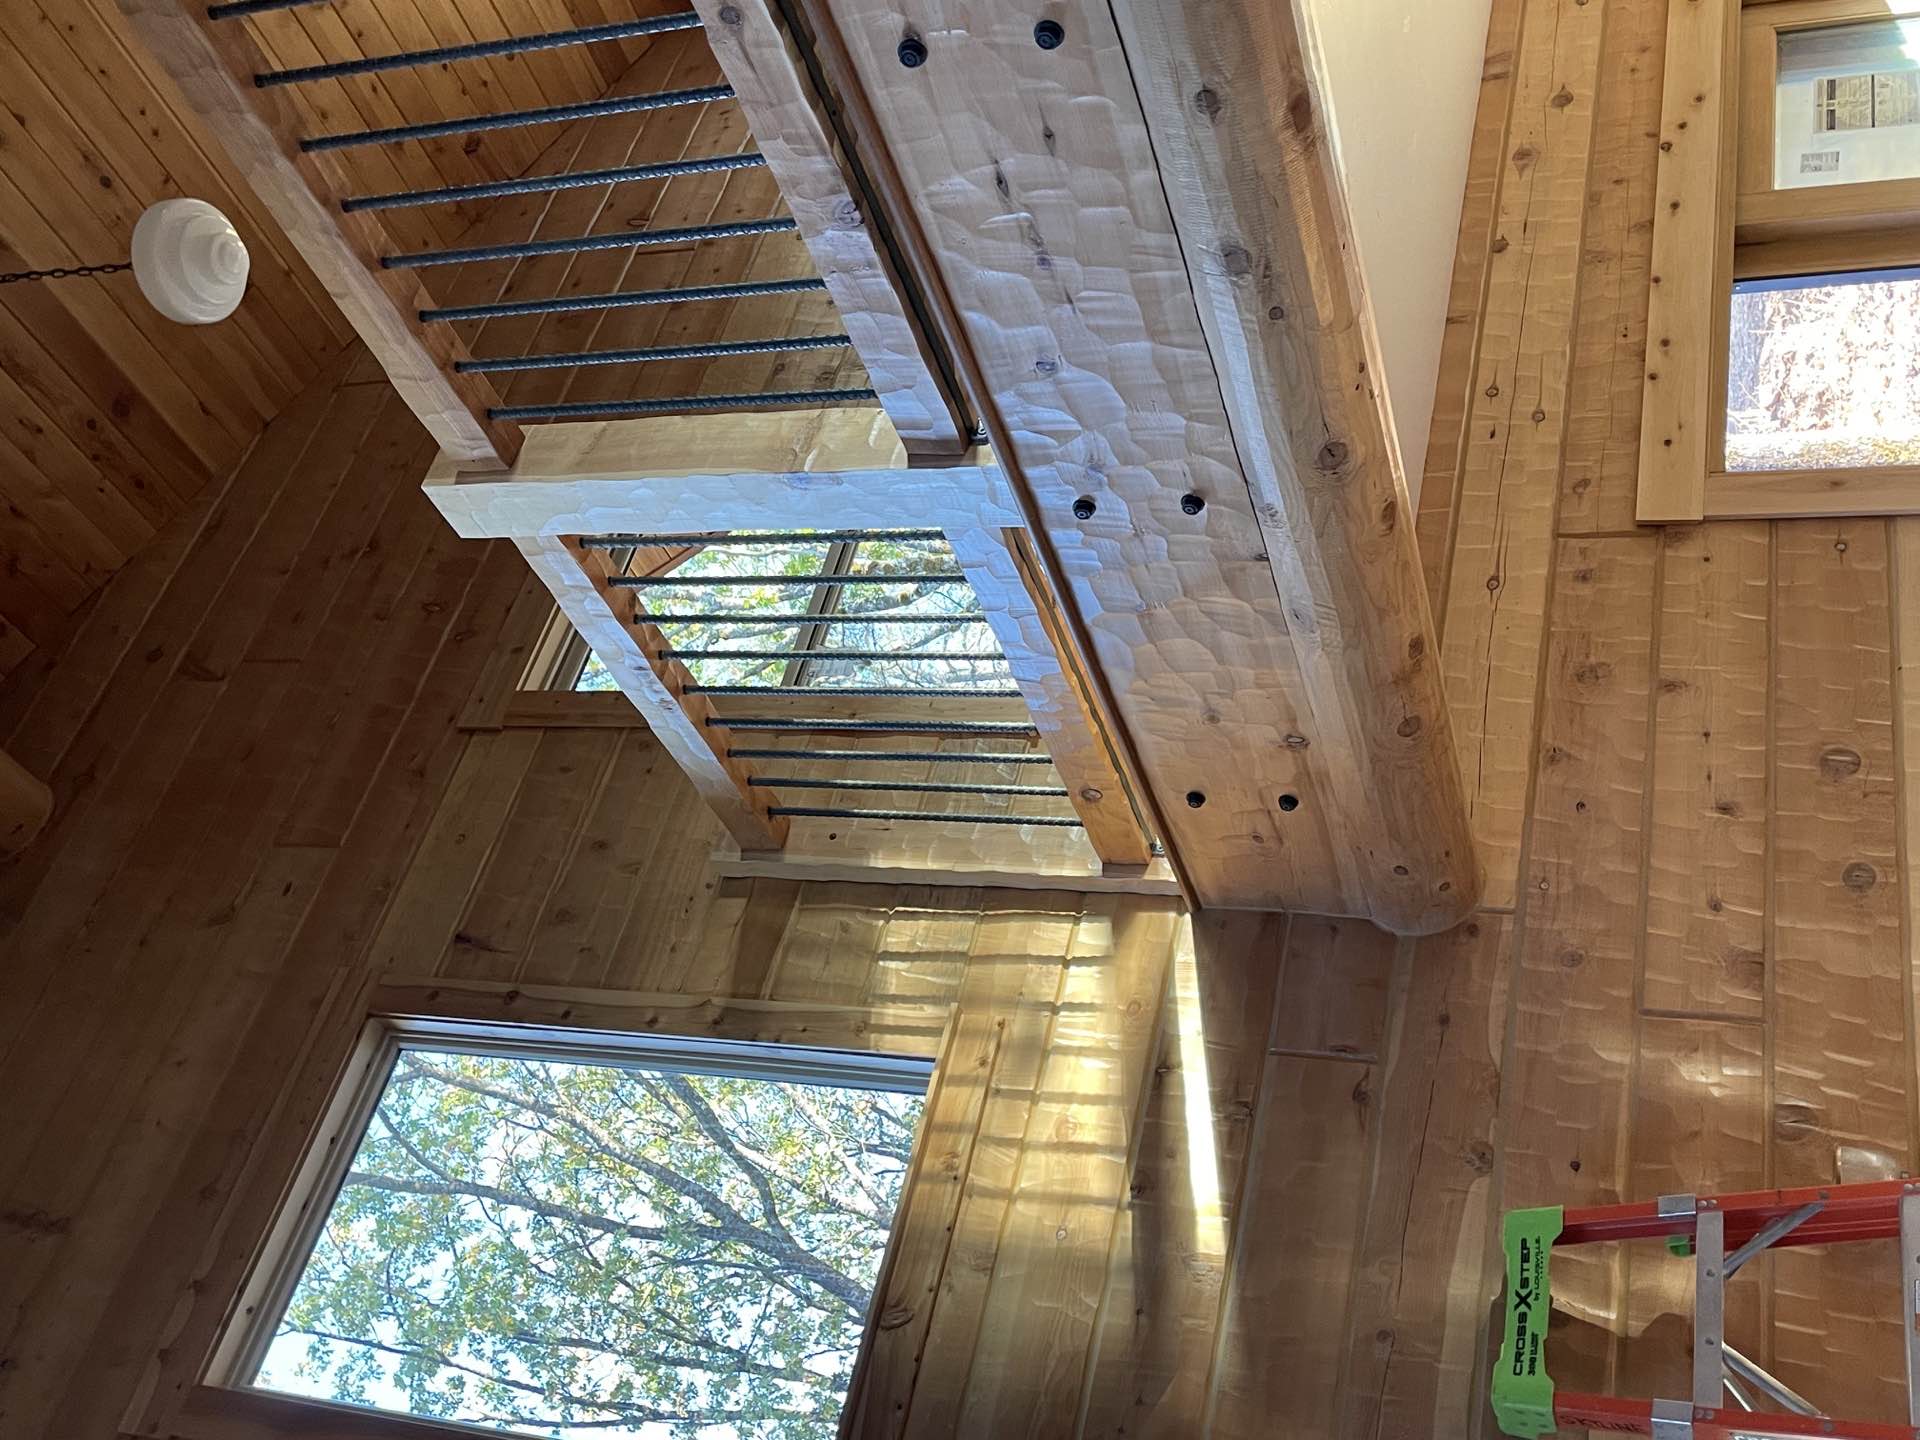
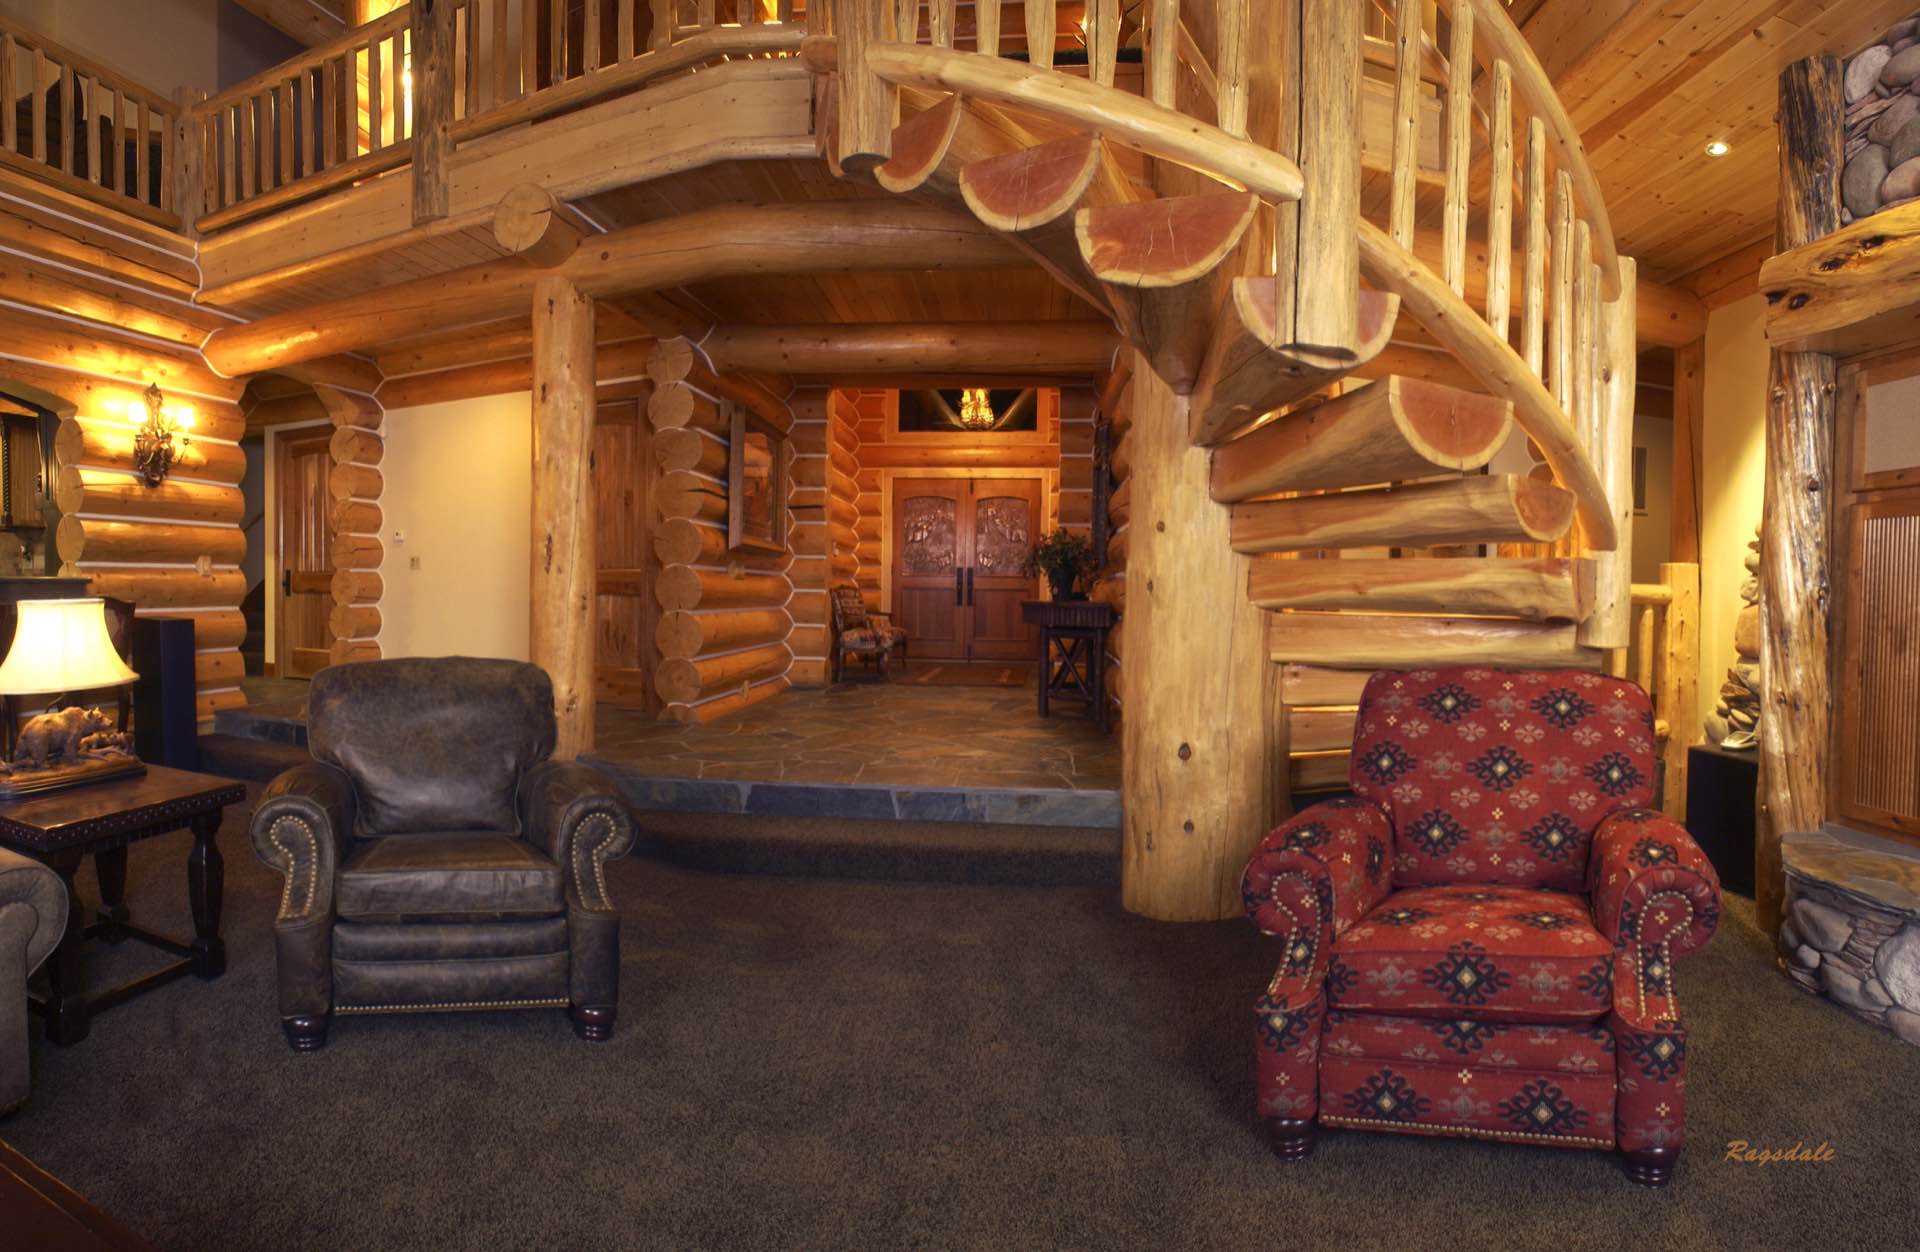
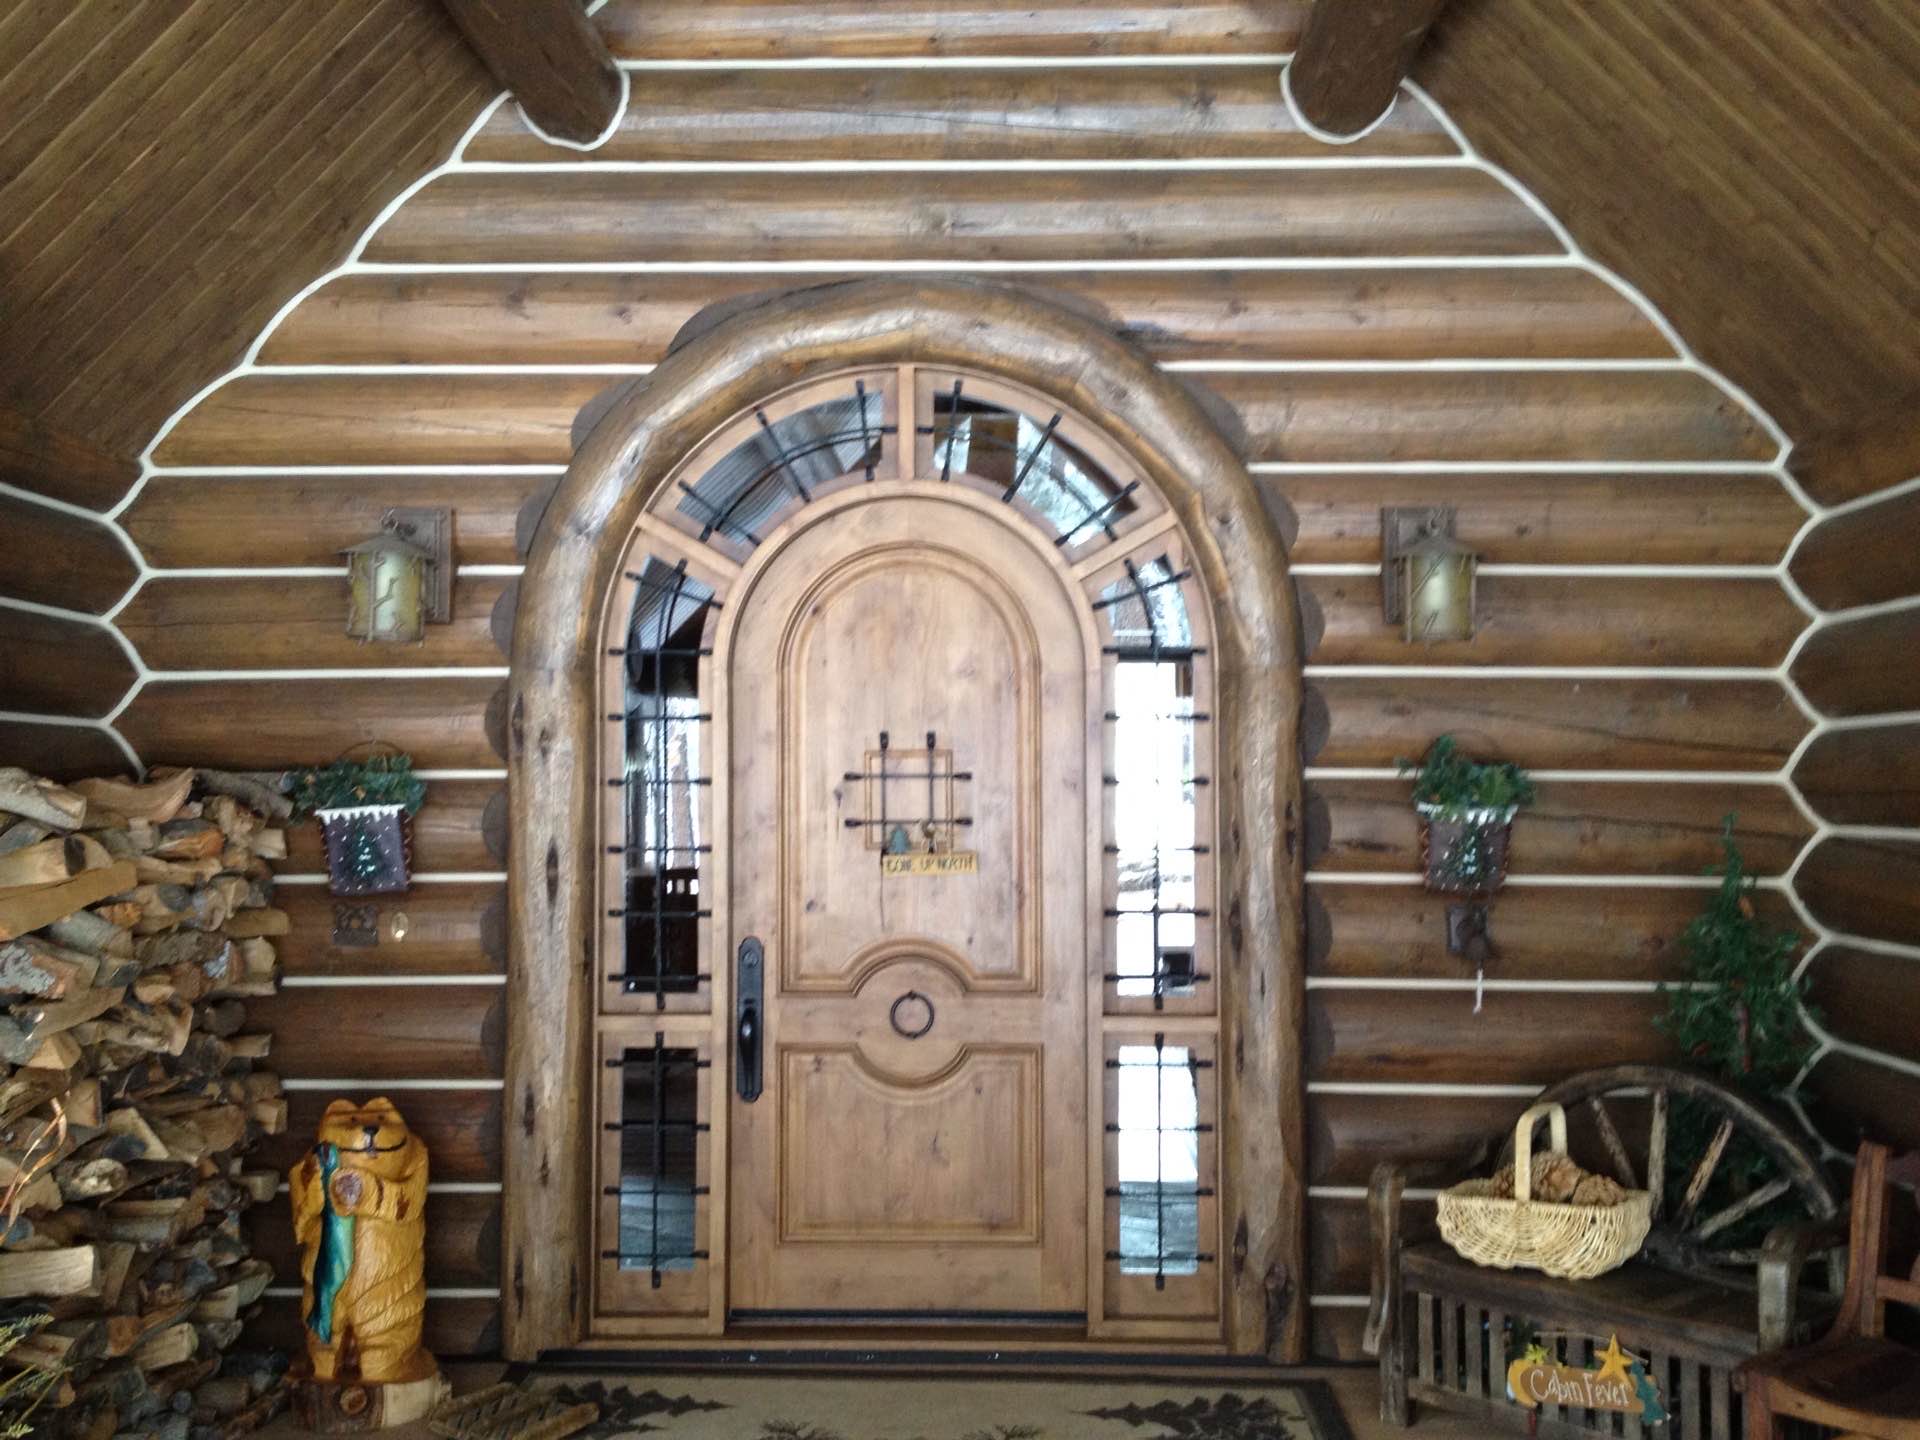
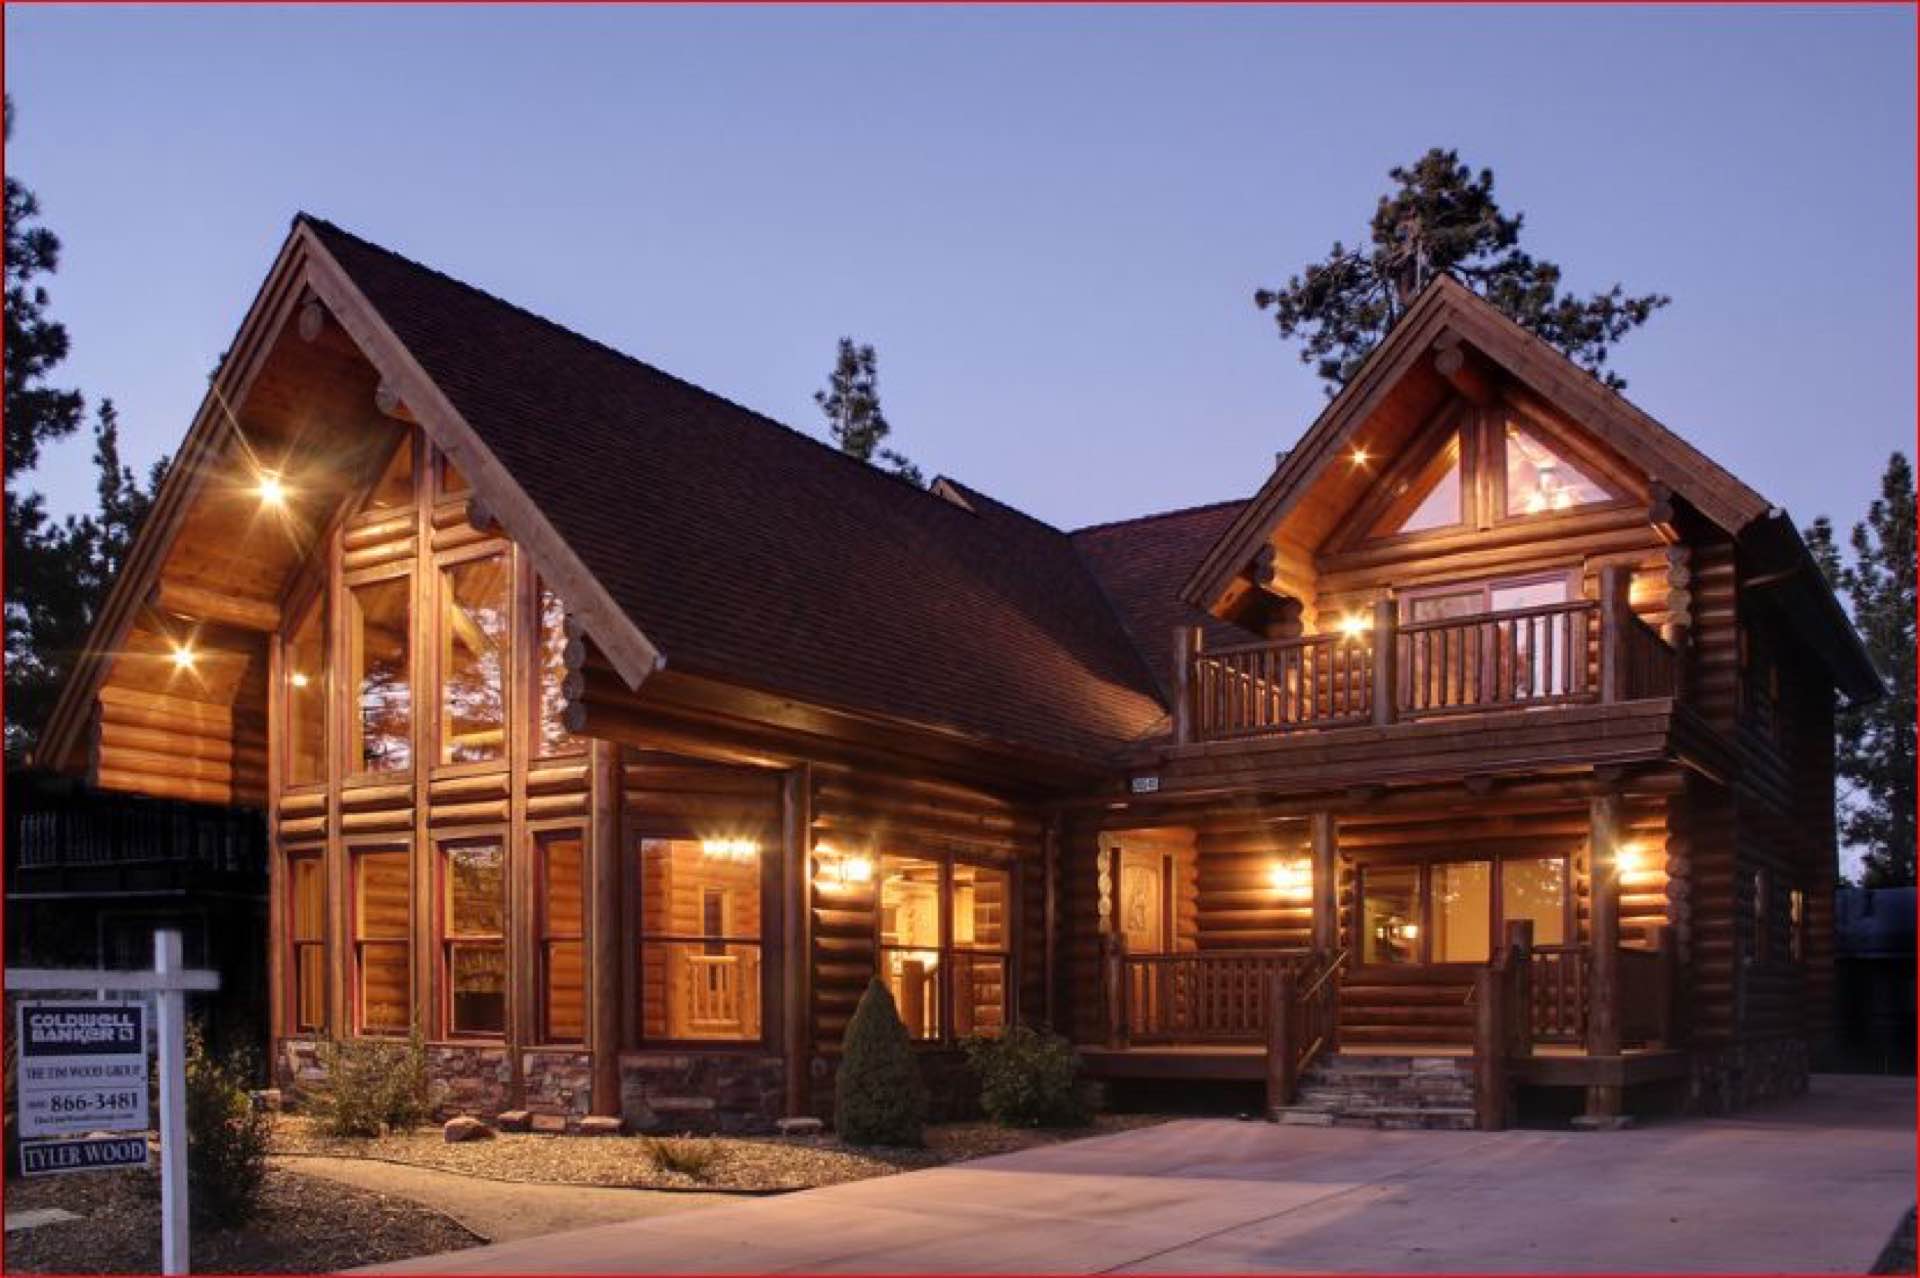
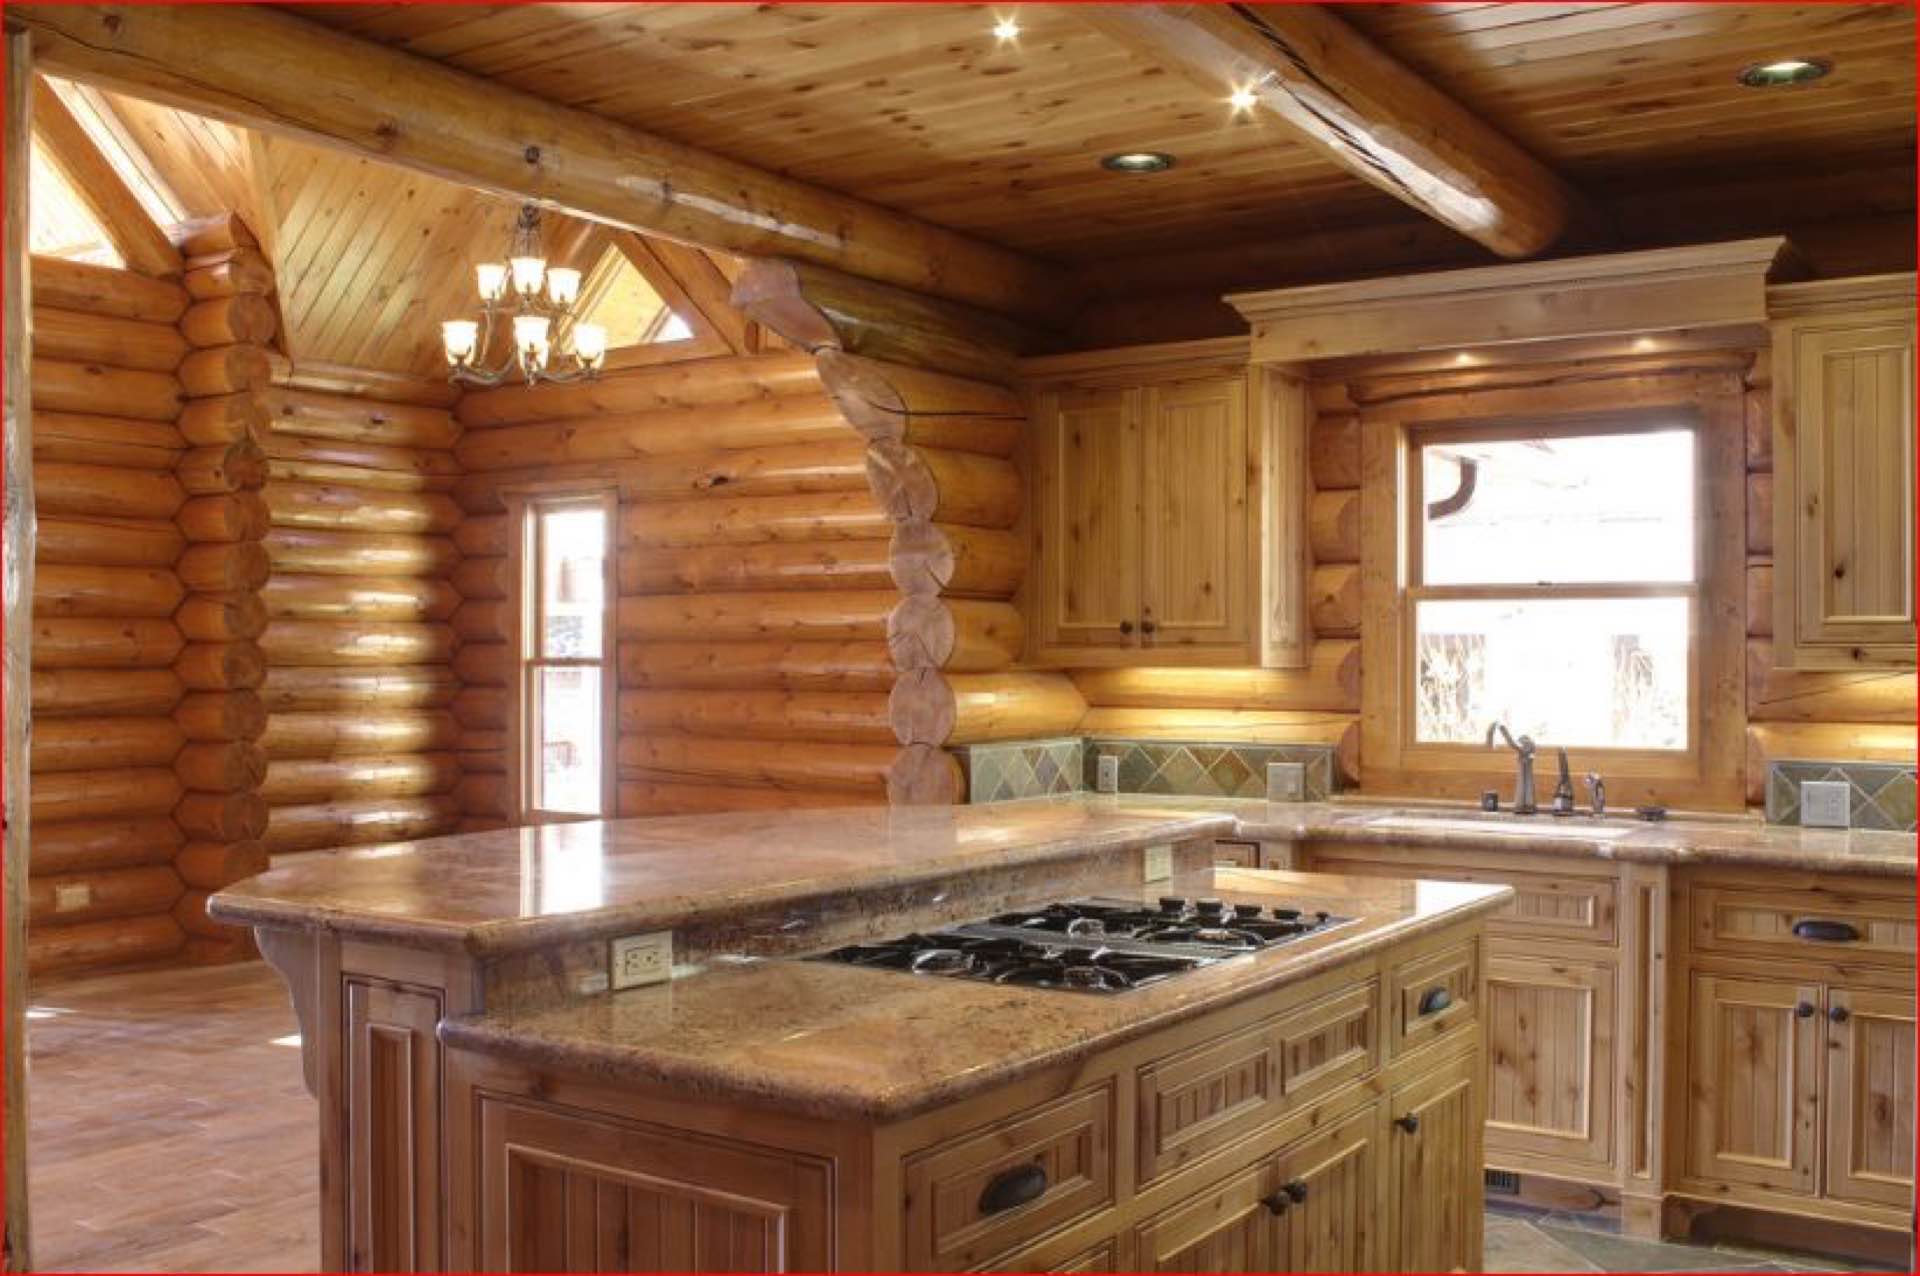
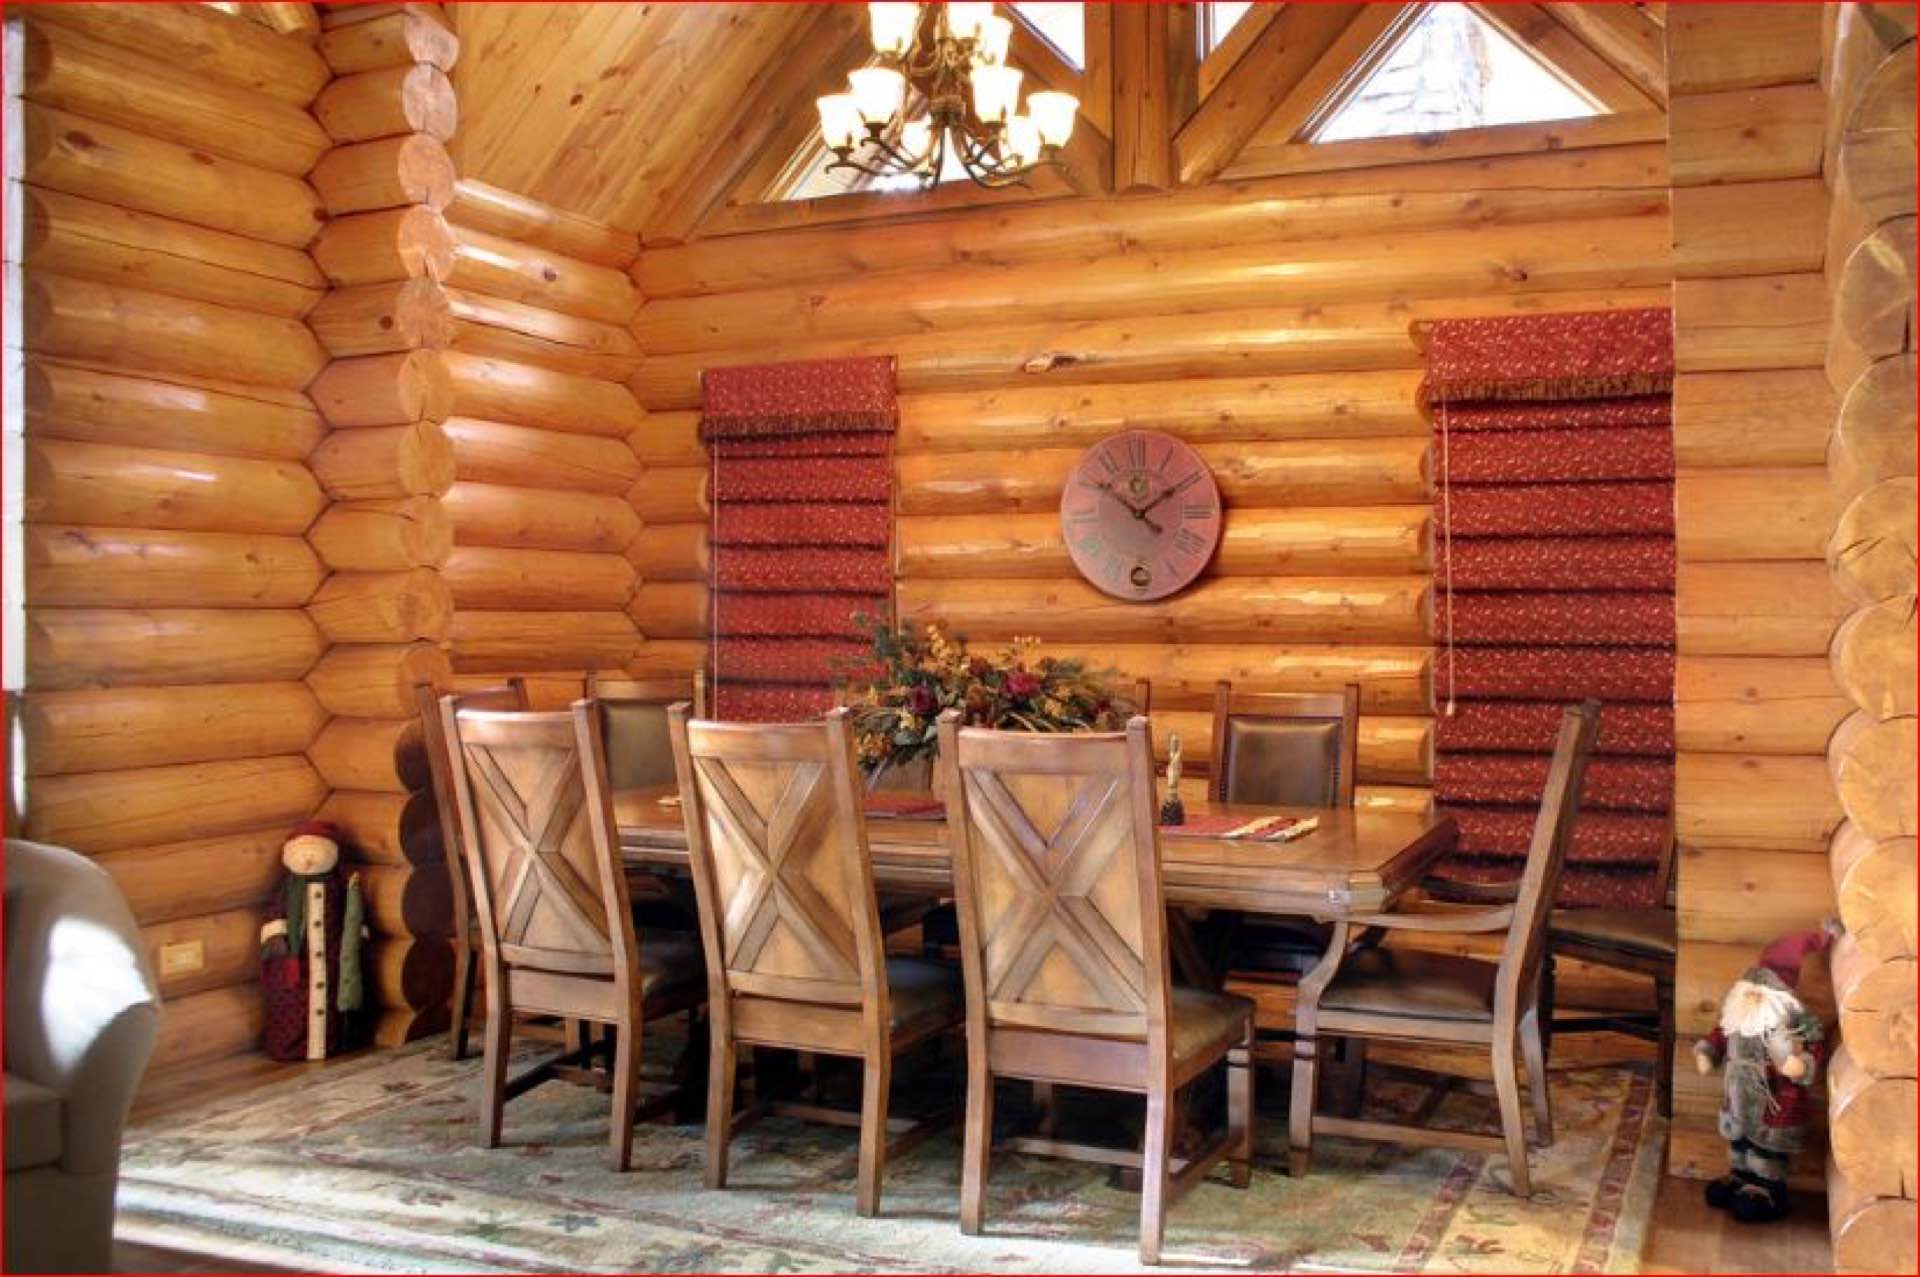
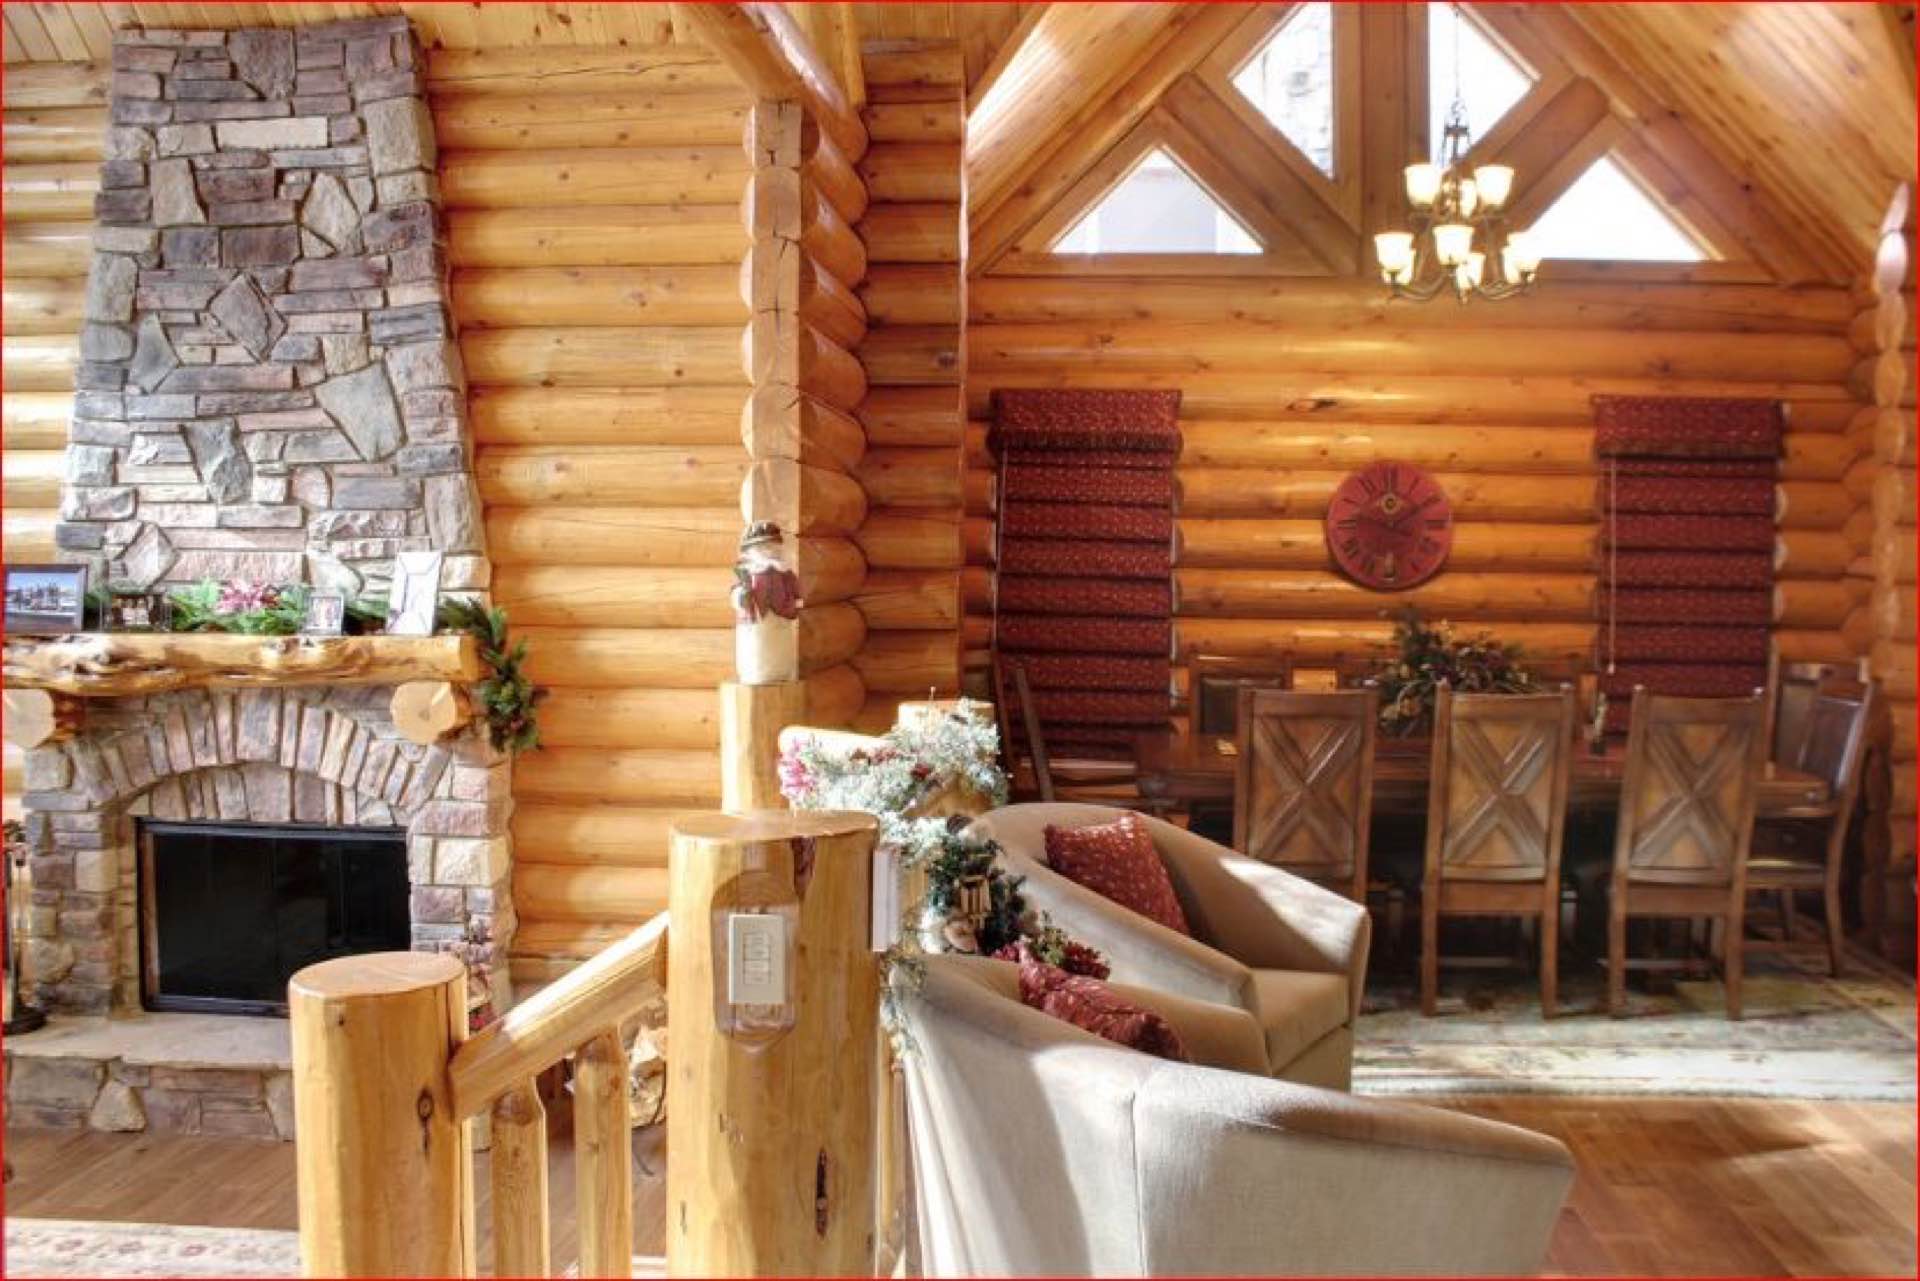
Sierra custom log home photo
Why the Action Planner matters

We don't just help you dream it - we show you how it's done.

By delivering instant Clarity over the entire scope of your project, total Predictability over how your timeline unfolds, and the Confidence of knowing exactly what comes next before you ever pick a builder... the roadmap to your dream unfolds.

Key Benefits
ClaritySee the entire scope of your project at a glance, start to finish.
PredictabilityKnow how your timeline unfolds, month by month.
ConfidenceKnow exactly what comes next before you ever pick a builder.
Key Features
Free Scaled Study PlanA dimensioned design of your future home, generated in minutes.
10-Phase Roadmap56 milestones from financing to move-in, in the right order.
Dynamic Proportional SlidersFine-tune any phase and the rest of the schedule auto-balances.
Calendar Gantt TimelineWatch each phase land on a real calendar you can plan around.
Project-Ready PDFExport a polished projection to share with your bank and builder.
Your projection report in about 30 seconds

3 fast steps to your action plan projection report

  1. 1Enter your start & end date. When you plan to start, to the completion of the home.
  2. 2Enter your project information. Your name, jobsite location, and any notes.
  3. 3Review phases and download. Your phases land on a calendar — download the PDF.

That's it — you have your report. Everything below is optional, for using this as a living plan.

Project Information

Three quick steps to your projection PDF. Everything here appears on your project-ready report.

1Your start & end date
Action Planner Date Range Enter start and end date to activate your planner.
Quick start: From today
Length: Up to 24 months
2Your name, location & notes
3Review phases and download

Your phases and dates land on the calendar below. When you're ready, open your report — from there you can download the PDF, print it, or share a link:

Tip: fill in your start & end dates, name, and jobsite above to unlock your report.

Your Calendar Timeline (Gantt Chart)

0%
Projected phase window Completed so far Today

Your Action Plan Detail with Calendar Date Range

Every phase and milestone below is mapped to your dates — check items off, fine-tune with the sliders, and add your own milestones.

Pre-Construction Phases 1–4

🌲 Phase 1: Feasibility, Budgeting & Financial Pre-Approval

Projected Timeline: Awaiting Start Date
Phase Duration Adjustment5%
Organize and review all legal and physical documents acquired at land purchase, including the Title Report (to check for utility or access easements), Covenants, Conditions & Restrictions (CC&Rs), HOA Rule Books, any existing Topographical Maps or Parcel Maps, and your preliminary Site Plan.
Heavily utilize your Free Scaled Study Plan to visualize the physical footprint (square footage, layout, stories) and review this Action Plan to anchor your lifestyle goals to realistic financial parameters before moving to custom design.
Meet with specialized construction lenders to determine your maximum borrowing capacity and timeline.
Secure a basic General Liability policy to protect against on-site legal risks while professionals are walking the property. Note: At this early stage, this risk can typically be covered via a simple extension or rider attached to your primary home insurance policy for your current residence.
Note: While major site prep occurs in Phase 5, early selective brushing or trail cutting is often required during this feasibility phase to physically allow surveyors, geotechnical soil engineers, and well drillers to access the property.
Identify, interview, and vet potential builders who specialize in log construction; check their current backlogs, reference projects, and collect baseline cost-per-square-foot feedback to ground your financial expectations.
Have the lender determine your land equity and establish how you will fund early physical site work required before the main loan can close.
Create a master budget allocating funds for land development, hard building costs, and soft costs using initial builder feedback and your study plan.
Set aside a strict 15–20% financial contingency fund explicitly for unexpected ground conditions or civil engineering changes.

📐 Phase 2: Design, Well Drilling & HOA Approval

Projected Timeline: Awaiting Start Date
Phase Duration Adjustment8%
Vet and select your designer and civil engineers to begin working layout plans. Upgrade to our Design Package to transform your study concepts into legal, permittable, and stamped structural blueprints.
Schedule the agency field verification site visit (e.g., TRPA Site Assessment / IPES Evaluation) to physically analyze the soil and slope. This establishes the official Base Allowable Land Coverage and dictates the strict boundaries of your building envelope before architectural design begins.
Hire a licensed surveyor or civil engineer to cross-reference FEMA flood maps and establish the official Base Flood Elevation (BFE) for the parcel. This high-water mark dictates the strict legal height requirements for your foundation and finished lowest floor relative to grade.
Finalize the aesthetic floor plans, window placement, loft spaces, log style choices, and overall lifestyle configuration, ensuring the design complies simultaneously with land coverage limits and BFE foundation height rules.
File formal service applications with the electric utility company using your preliminary site plan. This initiates the utility's engineering review to calculate grid loads, plot trench paths or line drops, and generate line-extension fee assessments well ahead of breaking ground.
Submit your structural footprints, site layouts, and log home material choices to the HOA’s Architectural Review Committee (ARC) and secure formal written approval.
Hire a geotechnical engineer to perform soil boring tests on your exact building footprint to determine structural load-bearing capacity for the foundation design.
Conduct a physical percolation test in the designated area to measure the water absorption rate of the soil, ensuring a legal and functional septic leach field can be designed.
Draft the official engineered site plan mapping out the exact placement of the home footprint, driveway, well location, septic system, and utility trenching on the parcel.
Create civil engineering layouts detailing how the land will be shaped, contoured, and sloped to ensure proper structural water runoff away from the home pad.
Design the solar grid layout, panel placement (roof or ground mount), inverter specs, and structural load assessments to meet modern California energy compliance mandates.
Engineer a dedicated fire protection and interior suppression sprinkler system plan matching state and local residential fire safety codes.
Secure a local well-drilling permit, bring out the C-57 drilling rig, and physically drill the well to establish the water source.
Conduct formal pump, flow-rate, and water quality testing to generate the official Well Completion Report required by the health and building departments to prove legal water availability.

🛠️ Phase 3: Engineering, Builder Selection & Permit Submittal

Projected Timeline: Awaiting Start Date
Phase Duration Adjustment7%
Produce the completed blueprint package, including stamped structural engineering calculations (for snow, wind, and seismic loads) required for your official building permit submittal.
Hand over the fully engineered home, site, grading, and utility plans to your top vetted general contractor candidates to secure formal, line-item bids.
Select your final builder based on their detailed proposal, lock in the binding construction contract, and formalize the final build budget.
File your architectural drawings, engineering calculations, HOA approvals, civil plans, signed builder contract, and proven water logs with the county municipal building department to officially initiate the plan check review process.

🏦 Phase 4: Loan Underwriting, Appraisal & Closing

Projected Timeline: Awaiting Start Date
Phase Duration Adjustment5%
Provide the bank with the signed builder contract, final line-item budget, blueprints, and submitted permit documentation. Include your signed materials invoice and package layout specs from Sierra Log & Timber to lock down package capital allocations.
The lender reviews and approves your contractor’s licensing, liability insurance, and financial background.
The lender's appraiser evaluates the land and plans to estimate the future value of the finished home.
Finalize and bind your specialized Builder’s Risk insurance policy. Note: This policy protects the structure and materials from fire, theft, and storm damage during the build. It is strictly an owner responsibility to obtain—not the builder’s—and must be active to close the loan.
Meet with your selected General Contractor to thoroughly review, adjust, and agree upon the bank’s finalized milestone draw schedule, ensuring contractor cash-flow expectations perfectly match the lender’s physical inspection triggers.
Finalize the construction loan escrow account concurrently with picking up your approved and issued building permits from the city/county.
Construction Phases 5–10

🪓 Phase 5: Site Prep, Excavation & Septic Installation

Projected Timeline: Awaiting Start Date
Phase Duration Adjustment10%
Sierra Log & Timber Parallel Lead-Time Alert: Submit your production materials deposit now! Your 10–12 week factory sawmill production queue runs in perfect parallel with this phase's heavy site development work, ensuring your timber shell package arrives exactly as the foundation finishes curing.
Confirm issuance of the local grading and encroachment permit from the county or city building department, which is officially tied to the certified grading and drainage plan drawn up by your civil engineer during Phase 2.
Obtain formal regulatory allocation or sign-off from the county forester or local planning agency (such as TRPA) to harvest or fell protected trees, verifying on-site tree numbers match the layout specifications on your certified site plan.
Clear timber, brush, and rocks from the immediate building footprint and install rough driveway material capable of handling heavy semi-truck log delivery.
Excavate and install the physical septic tank and leach field while the ground is open. Hook up temporary water supply lines or a pump to your pre-existing well.
Coordinate the physical trenching, conduit placement, or pole setting with the utility company. Install the temporary service panel (temp pole) to bring live electrical grid power directly onto the construction site for the incoming framing crews.
Dig the foundation hole and grade the surrounding soil for proper structural water runoff away from the home pad.
🚧 Phase 6: Foundation & Underground Mechanicals

Projected Timeline: Awaiting Start Date
Phase Duration Adjustment10%
Set forms and pour concrete footings followed by foundation walls (or the concrete slab) mapped precisely to your architectural line prints. Allow concrete to fully cure.
Lay out sub-slab drain lines, plumbing stacks, and electrical conduits before any final interior concrete slab is poured.
Apply waterproof sealants to exterior foundation walls and install perimeter French drains to protect low-level spaces.

🏗️ Phase 7: Framing & Weatherproofing (The "Dried-In" Stage)

Projected Timeline: Awaiting Start Date
Phase Duration Adjustment15%
Receive your custom manufactured sawmill packages from Sierra Log & Timber. Unload the delivery trucks, inventory your sub-component packs, and systematically stack your log walls.
Construct the subfloor systems, square interior partitions, framing elements, and hoist the heavy roof trusses safely into place.
Apply plywood/OSB sheathing to exterior non-log surfaces, wrap the structure in weather-resistant barriers, and install your shingles or metal roofing panels.
Secure all weather-tight exterior windows and doors, achieving the critical milestone known as a "dried-in" or lockable structure to protect inside logs from moisture.

🔌 Phase 8: Rough-Ins, Interior Systems & Inspections

Projected Timeline: Awaiting Start Date
Phase Duration Adjustment10%
Run all HVAC ductwork, copper/PEX plumbing supply lines, and main sewer vents through the open interior framing channels.
Pull electrical wiring to all switch, outlet, and light boxes; route smart home and internet communication cables.
Schedule and pass municipal electrical, plumbing, and framing rough inspections before any walls can legally be closed up.
🎨 Phase 9: Finishes, Cabinetry & Major Finish Draws

Projected Timeline: Awaiting Start Date
Phase Duration Adjustment15%
Install thermal insulation batts, then hang, tape, mud, and texture the drywall to define the finished layout spaces alongside your exposed natural timber features.
Apply specialized preservative log stains, exterior trim accents, and masonry sealers to preserve the timber look.
Hang interior pass-through doors, install baseboards/window trim, and mount premium kitchen and bathroom cabinetry systems.
Lay down your tile, hardwood, or carpet floor coverings, and install hard surfaces like quartz or granite countertops.

🔑 Phase 10: Final Detailing, Handover & Mortgage Conversion

Projected Timeline: Awaiting Start Date
Phase Duration Adjustment15%
Hook up electrical light fixtures, plumbing faucets, toilets, switches, plates, and major kitchen appliances.
Pass the city/county final comprehensive building inspection to receive your official Certificate of Occupancy (CO).
Conduct a thorough walkthrough with your General Contractor to locate and rectify minor cosmetic or functional defects. Move into your brand-new log home!
Your study set

Ready to advance from a study plan to permit-ready engineering?

Unlock Phase 2 by purchasing your stock layout or securing custom drafting via our architectural line.

For modifications or a custom design, purchase the Design Package.

Purchase Design Package - $950
Your plan & purchases
0% of your plan complete
Buy Design PackageDesign Pkg